
How To Paint Like A Pro: Finishing Up
Admin • October 16, 2023
Cleanup
- Clean your Brush PROMPTLY! You can never use too much water when cleaning brushes! A great brush should last through several jobs. Even years! A brush comb and brush spinner are helpful too. Hang to dry. Clean your roller covers too! Properly cleaned roller covers can be reused several times. I know one contractor who used the same roller cover on 10 houses and got perfect results every time.
- Remove the Painter’s Tape. Remove the tape by pulling the loose end back over the tape still on the surface to minimize removal of the paint on the surface. Peel off the tape before paint has dried completely, ideally about an hour after you’ve finished painting, to avoid accidentally removing any dried paint along with it. Leaving the painter’s tape on too long is one of the most common painting mistakes people make.
Drying Time
- Follow the manufacturer’s drying instructions, which you’ll find on the can, to make sure the paint is completely dry before applying second coat if needed.
- Different kinds of paint dry at different speeds—and they’ll feel dry to the touch before they’re ready for you to lay on an extra coat. A latex-based paint will feel dry to the touch in about an hour, and be ready for a second coat in four hours. An oil-based paint takes six hours to feel dry, and you should wait a day to apply a second coat.
- Dry time and cure time are different. Dry time is when the paint feels dry to the touch, while cure time is longer, typically 7—10 days. During the cure time, care should be taken to avoid brushing up against the painted areas to avoid marking or burnishing the finish. As the paint cures, it obtains its full hardness and durability.

Read about essential painting supplies in Georgetown, KY, that professionals rely on with Perspectives Inc. Click here and find out more!
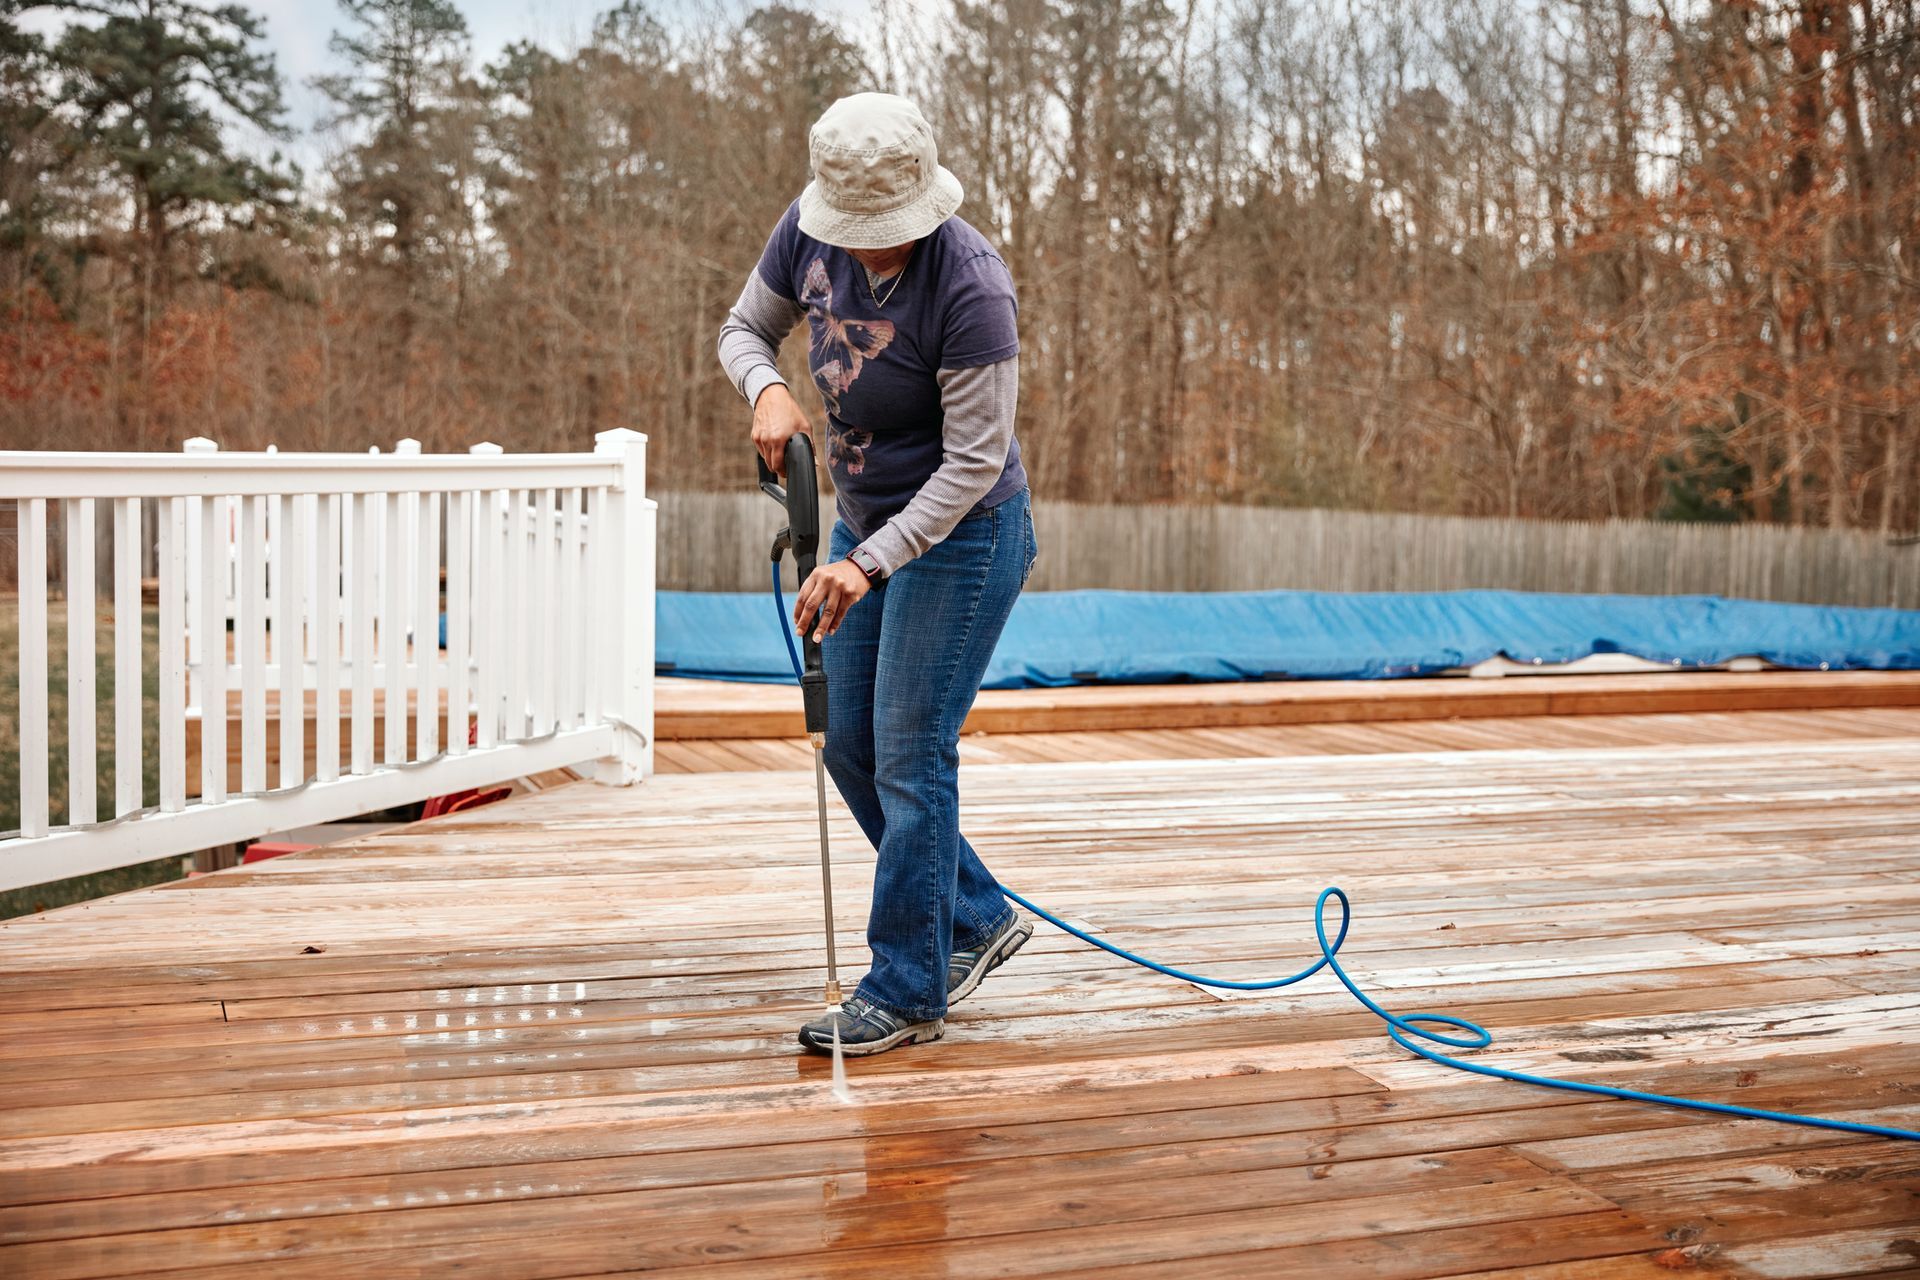
1. Move all furniture – tables, chairs, grills, planters, etc. off deck.

Discover the right sandpaper for your project with our comprehensive grit guide. From coarse to ultra-fine, choose the best sandpaper for your sanding needs.

Learn about the best caulk products for different projects, from kitchens to exteriors. Get expert advice on selecting the right caulk for your needs.
Master the art of painting and design with tips and tricks from Perspectives Inc. in Lexington, KY. Click here to learn more about our renovation insights.
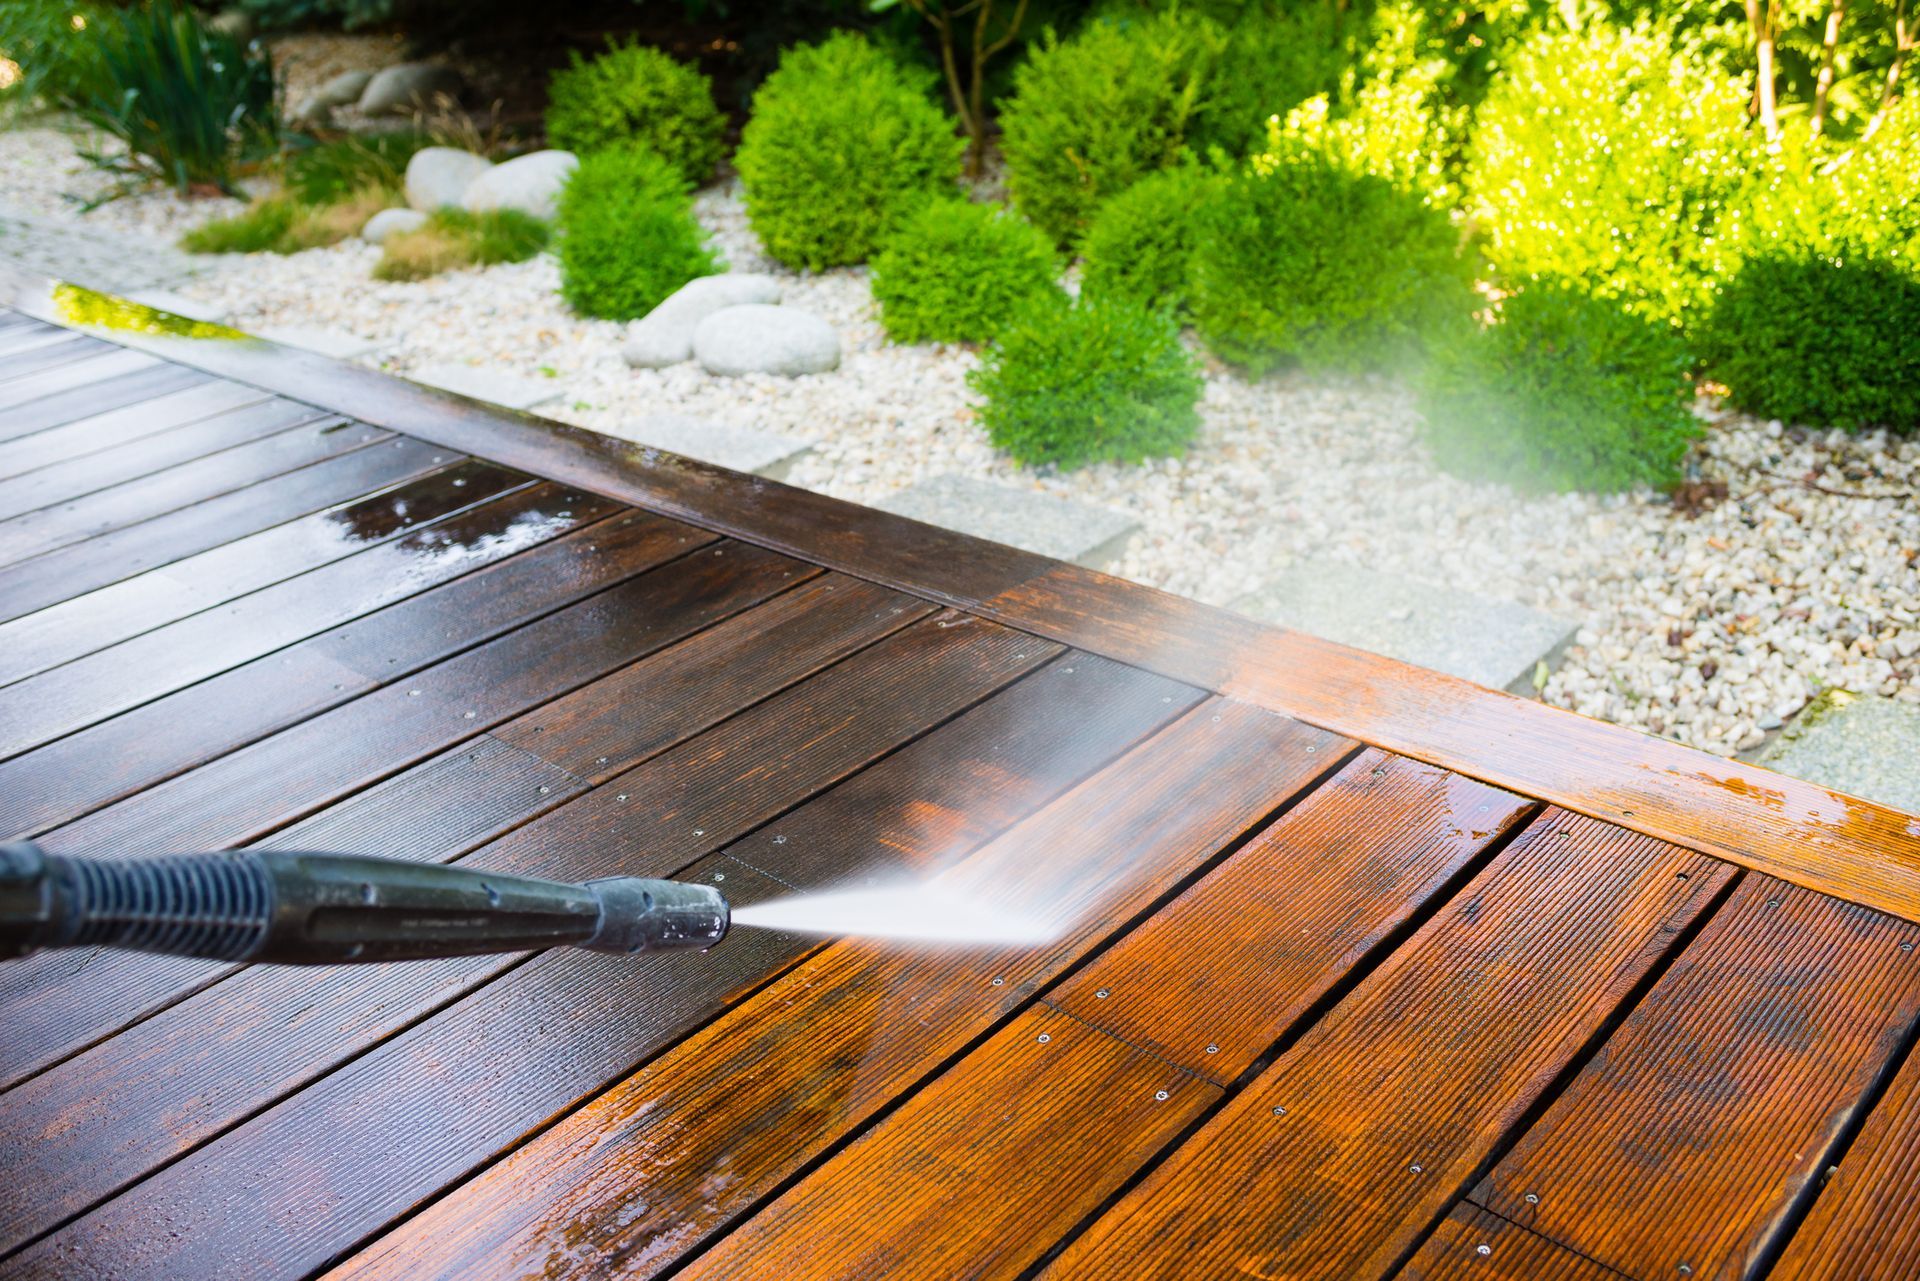
Learn the one thing you should never do when cleaning your deck to avoid damage. Get expert tips on maintaining a beautiful and safe outdoor space.

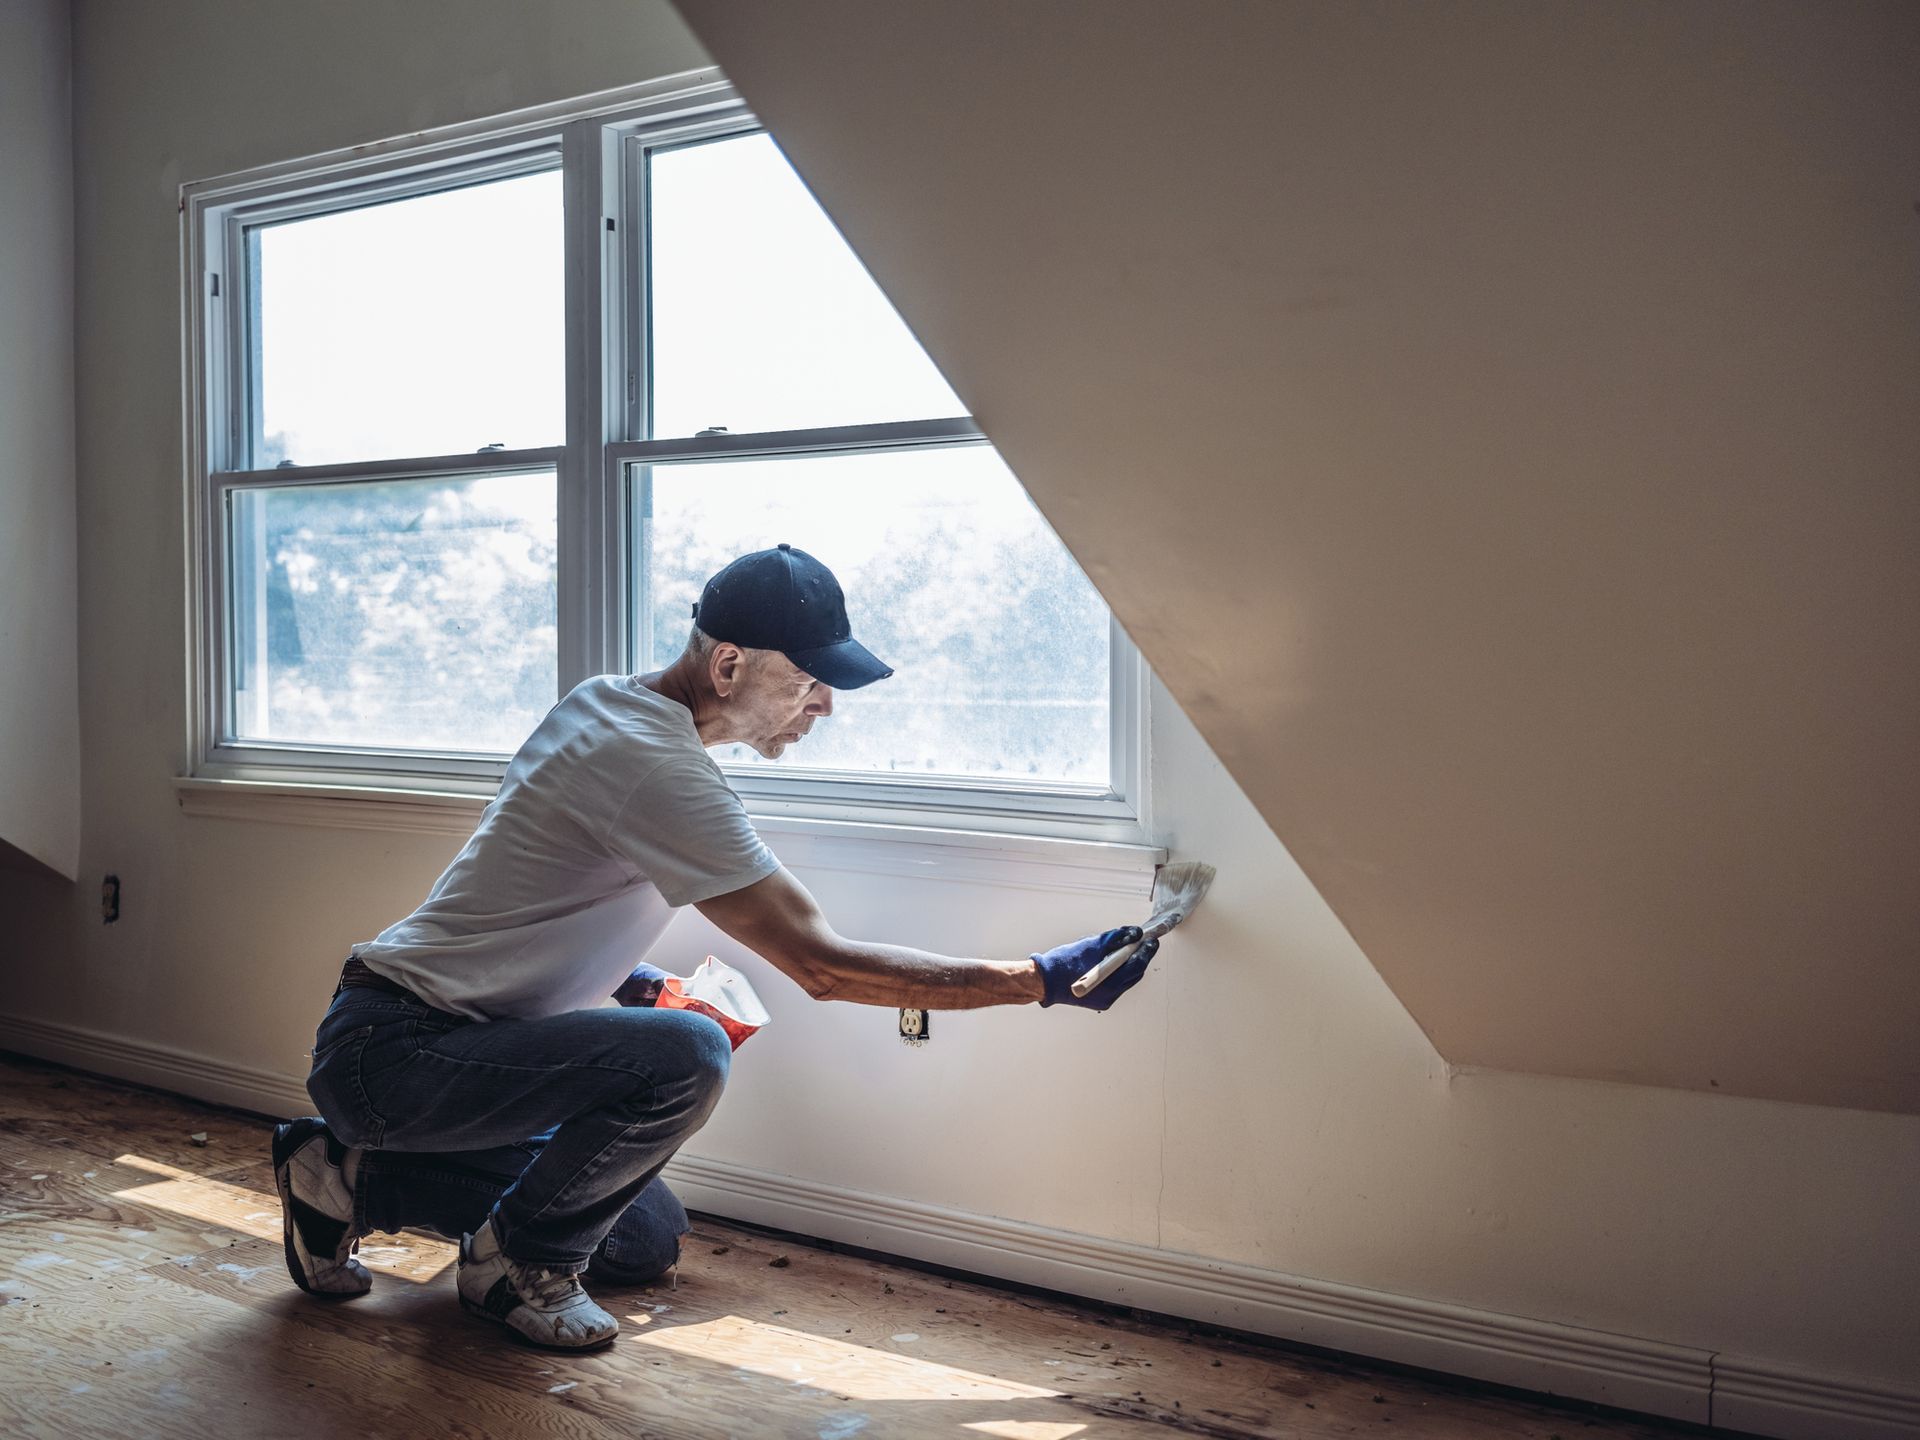
Get expert tips on prepping for a perfect paint job. From cleaning walls to covering trim, follow these essential steps for a professional finish.
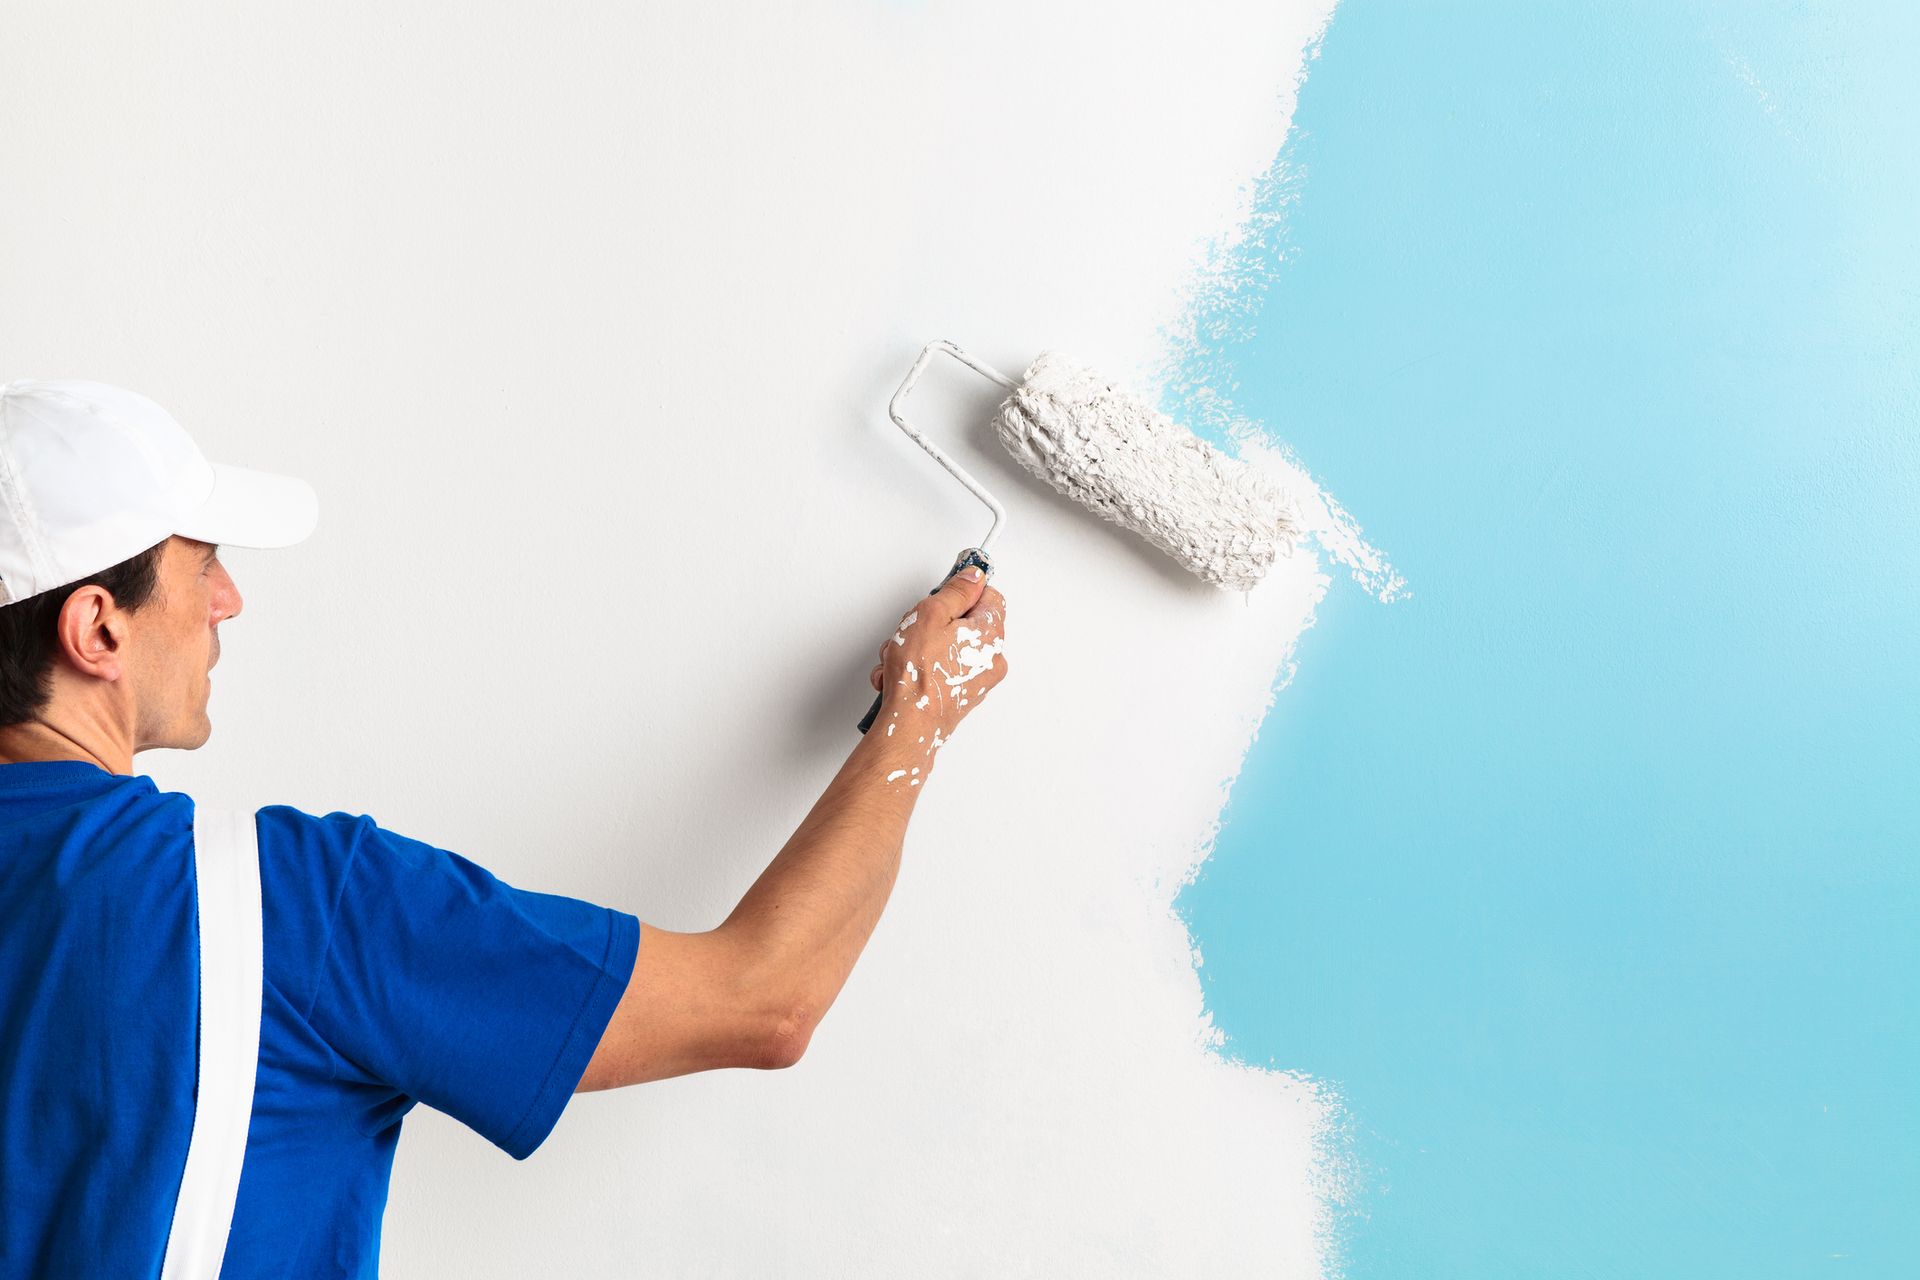
Master professional painting techniques with our expert tips. Learn how to achieve smooth, streak-free results and perfect your painting skills with ease.
Learn the essential painting techniques to achieve a professional look. From brush to roller, get expert tips for a flawless finish on your next project.
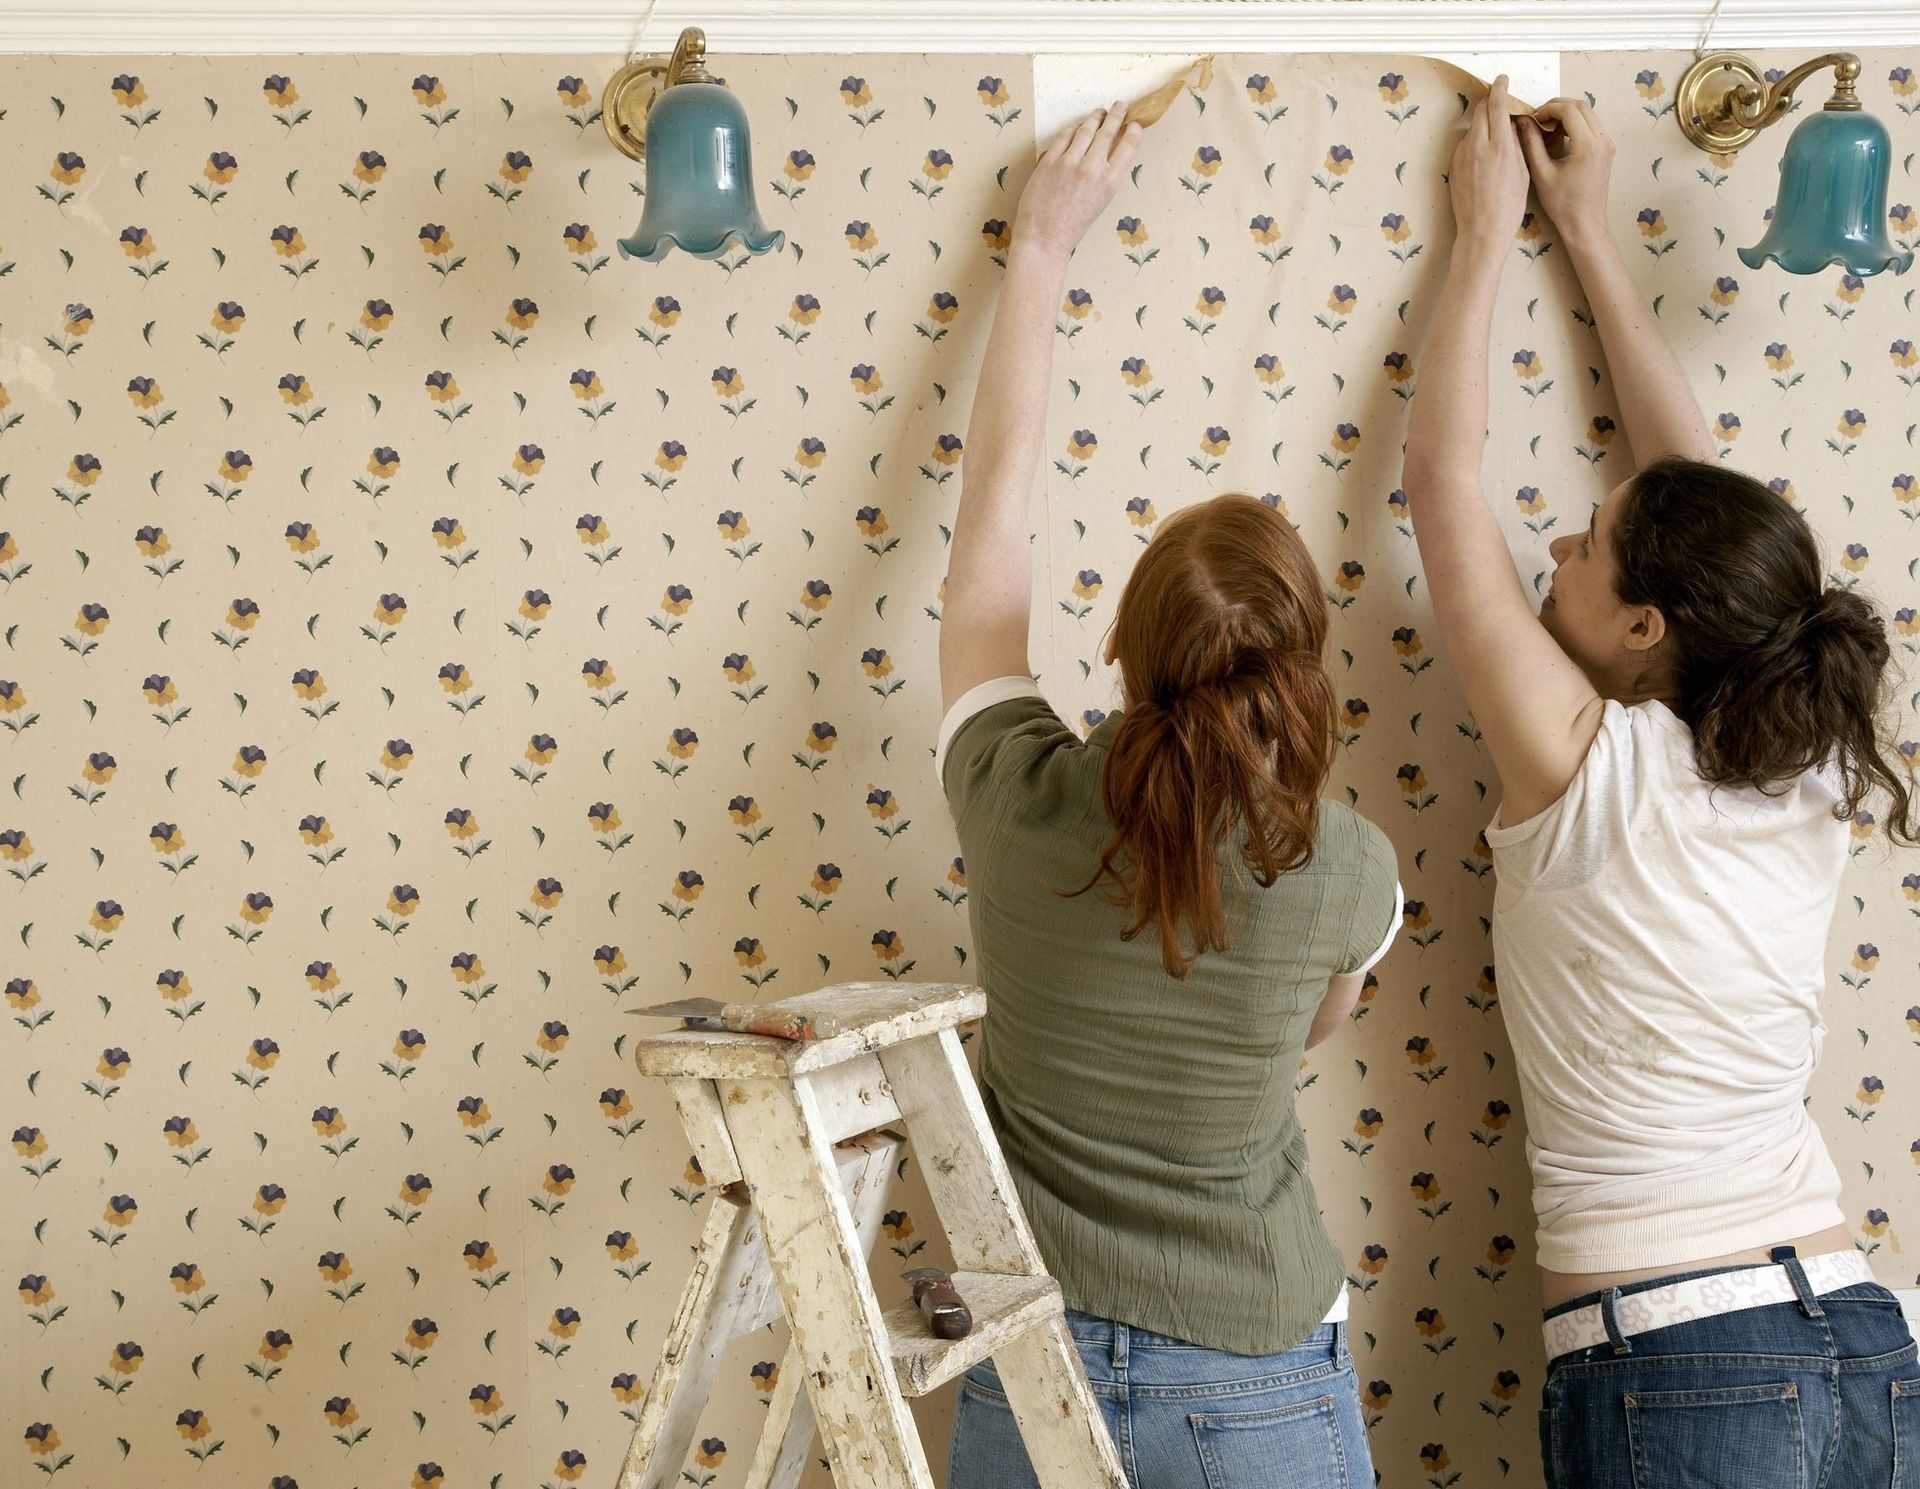
Learn how to remove different types of wallpaper easily with our step-by-step guide. Tips and tools to help you prepare your walls for redecorating.


