
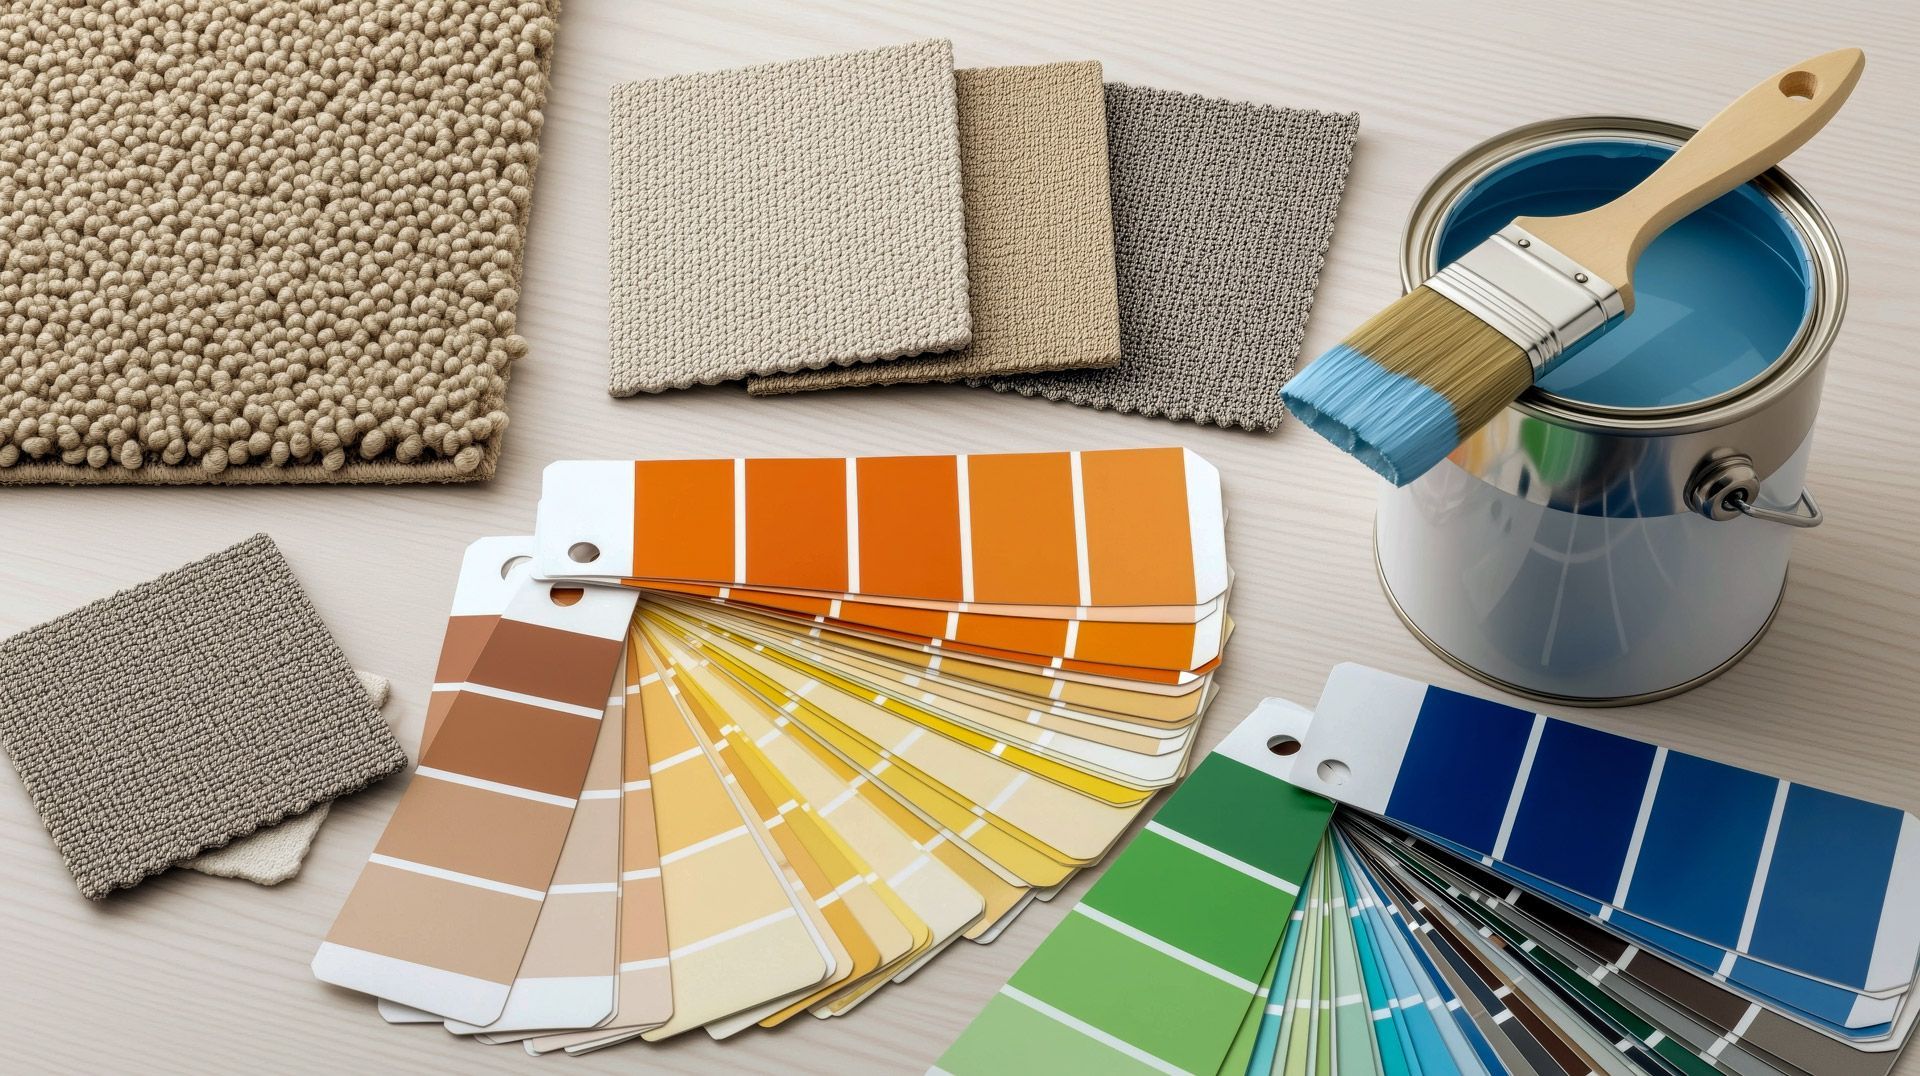
How To Paint Like A Pro: Prep
Admin • October 19, 2023
Step 1. Clean the Walls
- Use a broom to clear out hard-to-reach dust and cobwebs in the corners of the ceiling.
- Vacuum and wipe with a dry cloth baseboards and window sills.
- Remove switch and electrical plates and vent covers
- Using a cloth, wipe areas to be painted with a solution of TSP and water (don’t use a detergent or fabric softener that will leave a residue) and rinse with plain water to remove any dust, dirt, and grease. Don’t skip this step, especially in heavy traffic areas like kitchens and bathrooms.
Step 2.Cover and mask
- Tape the Trim
- Use blue painter’s tape (not masking tape) to protect areas you don’t want your paint to get on, such as trim, molding, doorknobs, window frames, and door frames. Run long strips of tape just inside the outer edges of these areas. (The outer edges of the tape should lie exactly where the wall meets the trim, covering the parts of the trim that your roller or paintbrush might hit when you paint.)
- Cover floors and furniture with a dropcloth. We prefer reusable canvas drops on floors and lightweight plastic to cover sensitive items and furniture. Re-use the plastic drops on the next area to reduce waste.
- Now is the time to look for loose trim, breaks in the trim, and places where the trim has pulled away from the wall. Make any repairs, then caulk to ensure a seamless transition between trim and walls. Use an elastomeric, water based caulk. This type of caulk has tenacious adherence and will flex up to 800% before the bond breaks. Look for nail pops and nail holes that need to be repaired. No matter what you hear or see, DO NOT use toothpaste to fill nail holes! Use spackling paste and sand smooth. It is not a bad idea to spot prime these repairs before painting the entire wall.
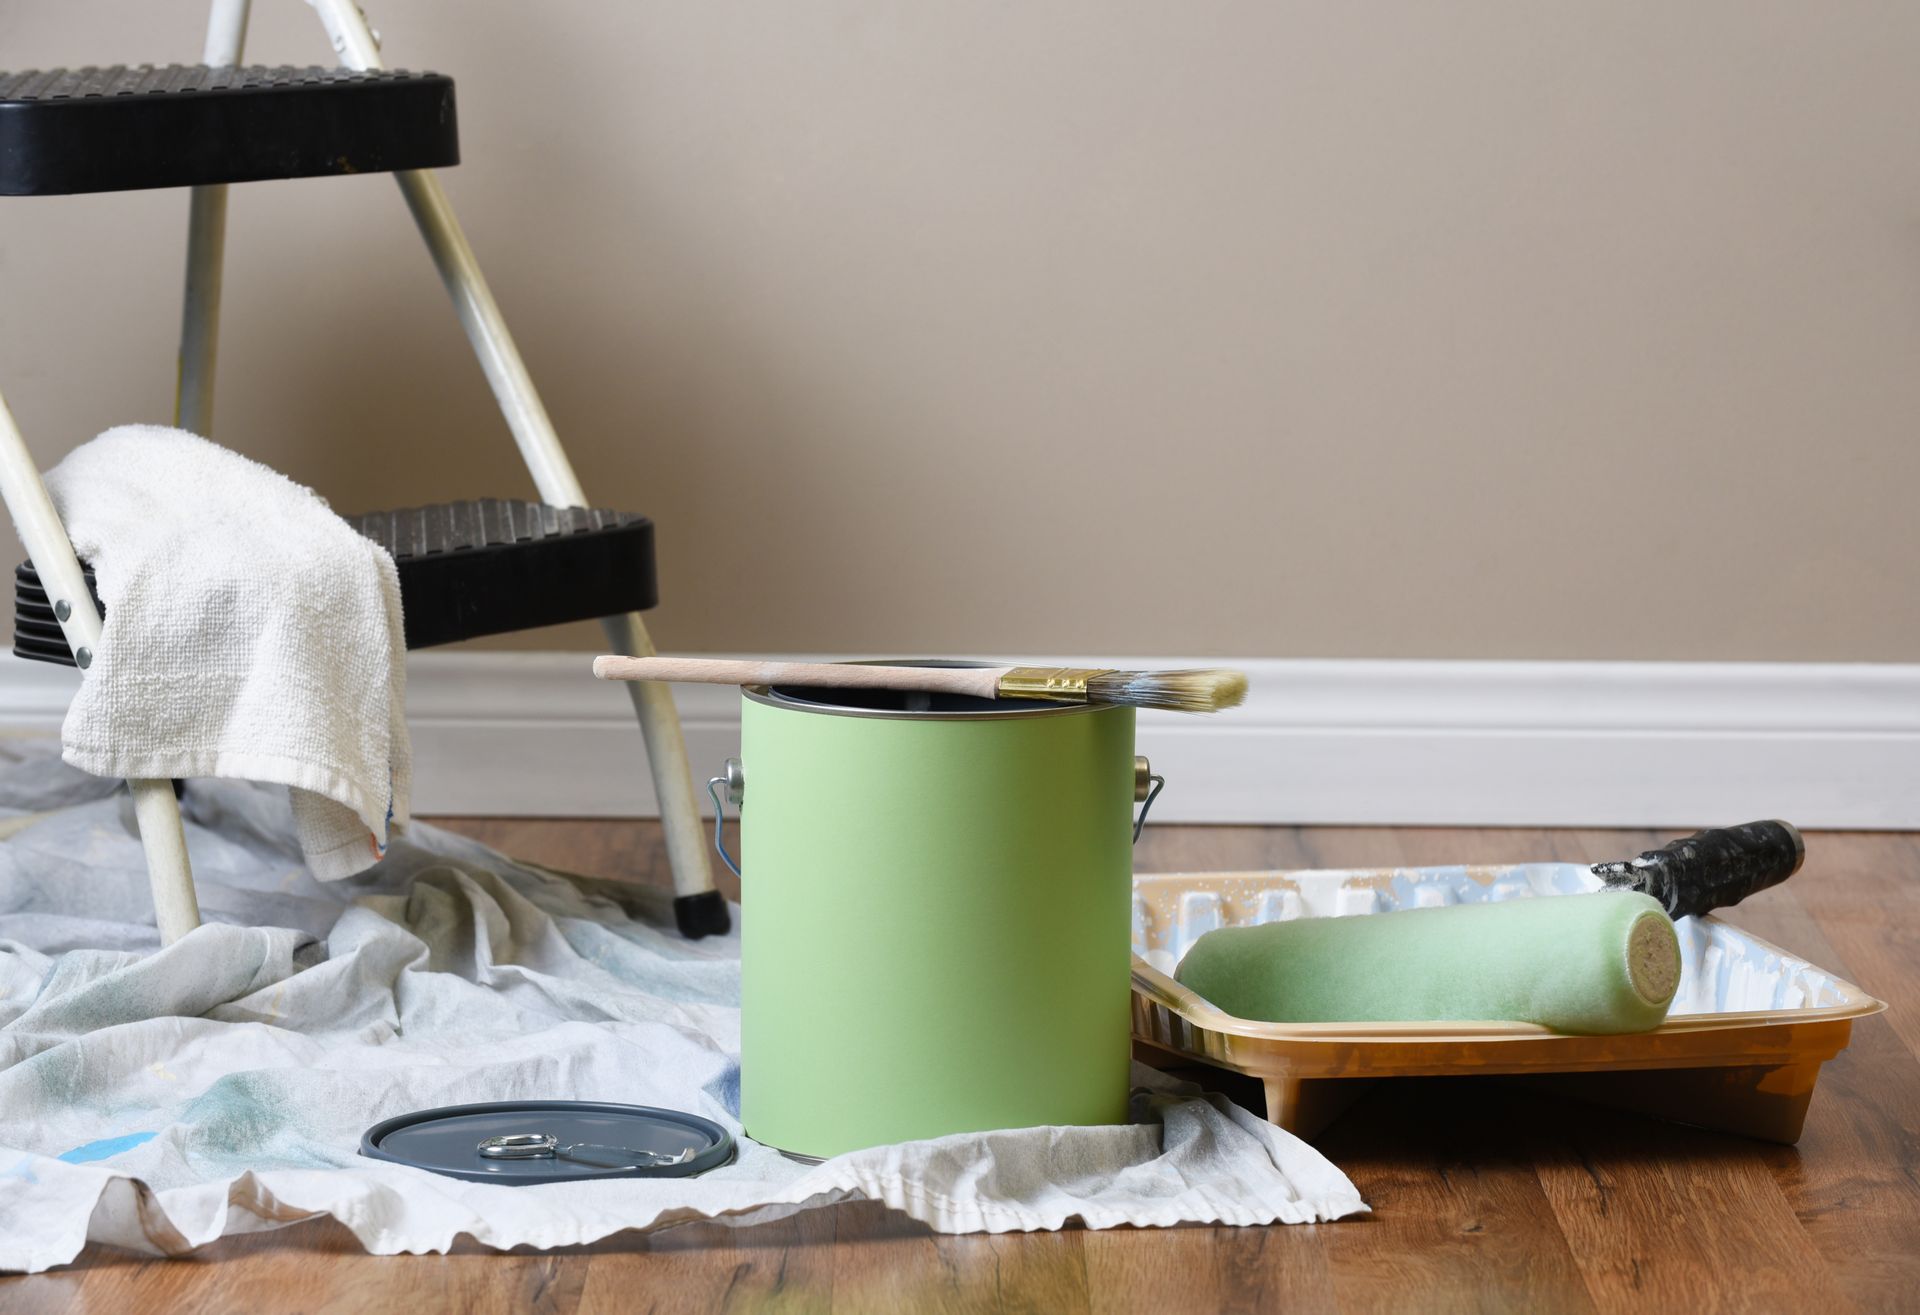
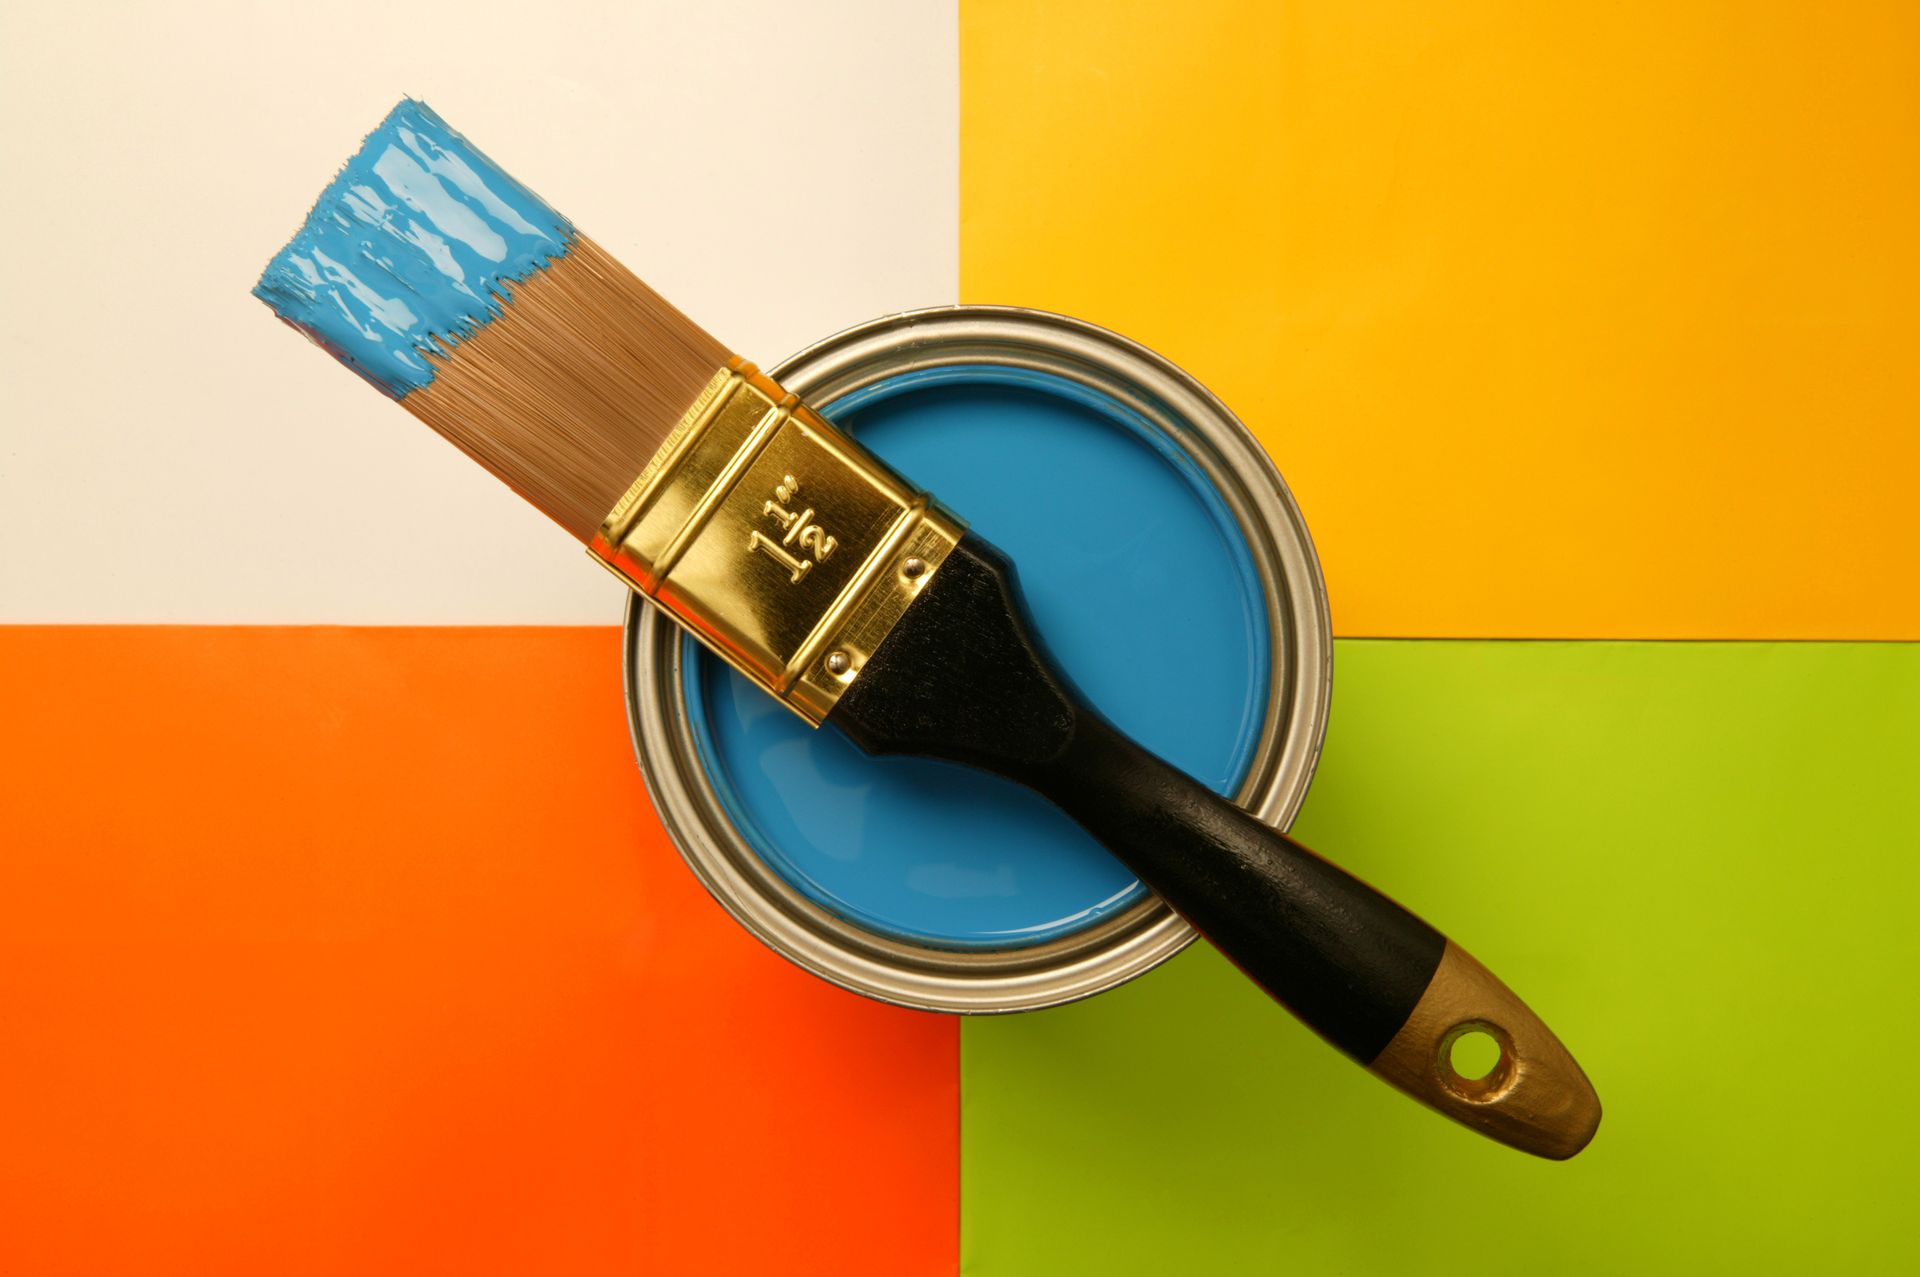
- Get your tools ready.
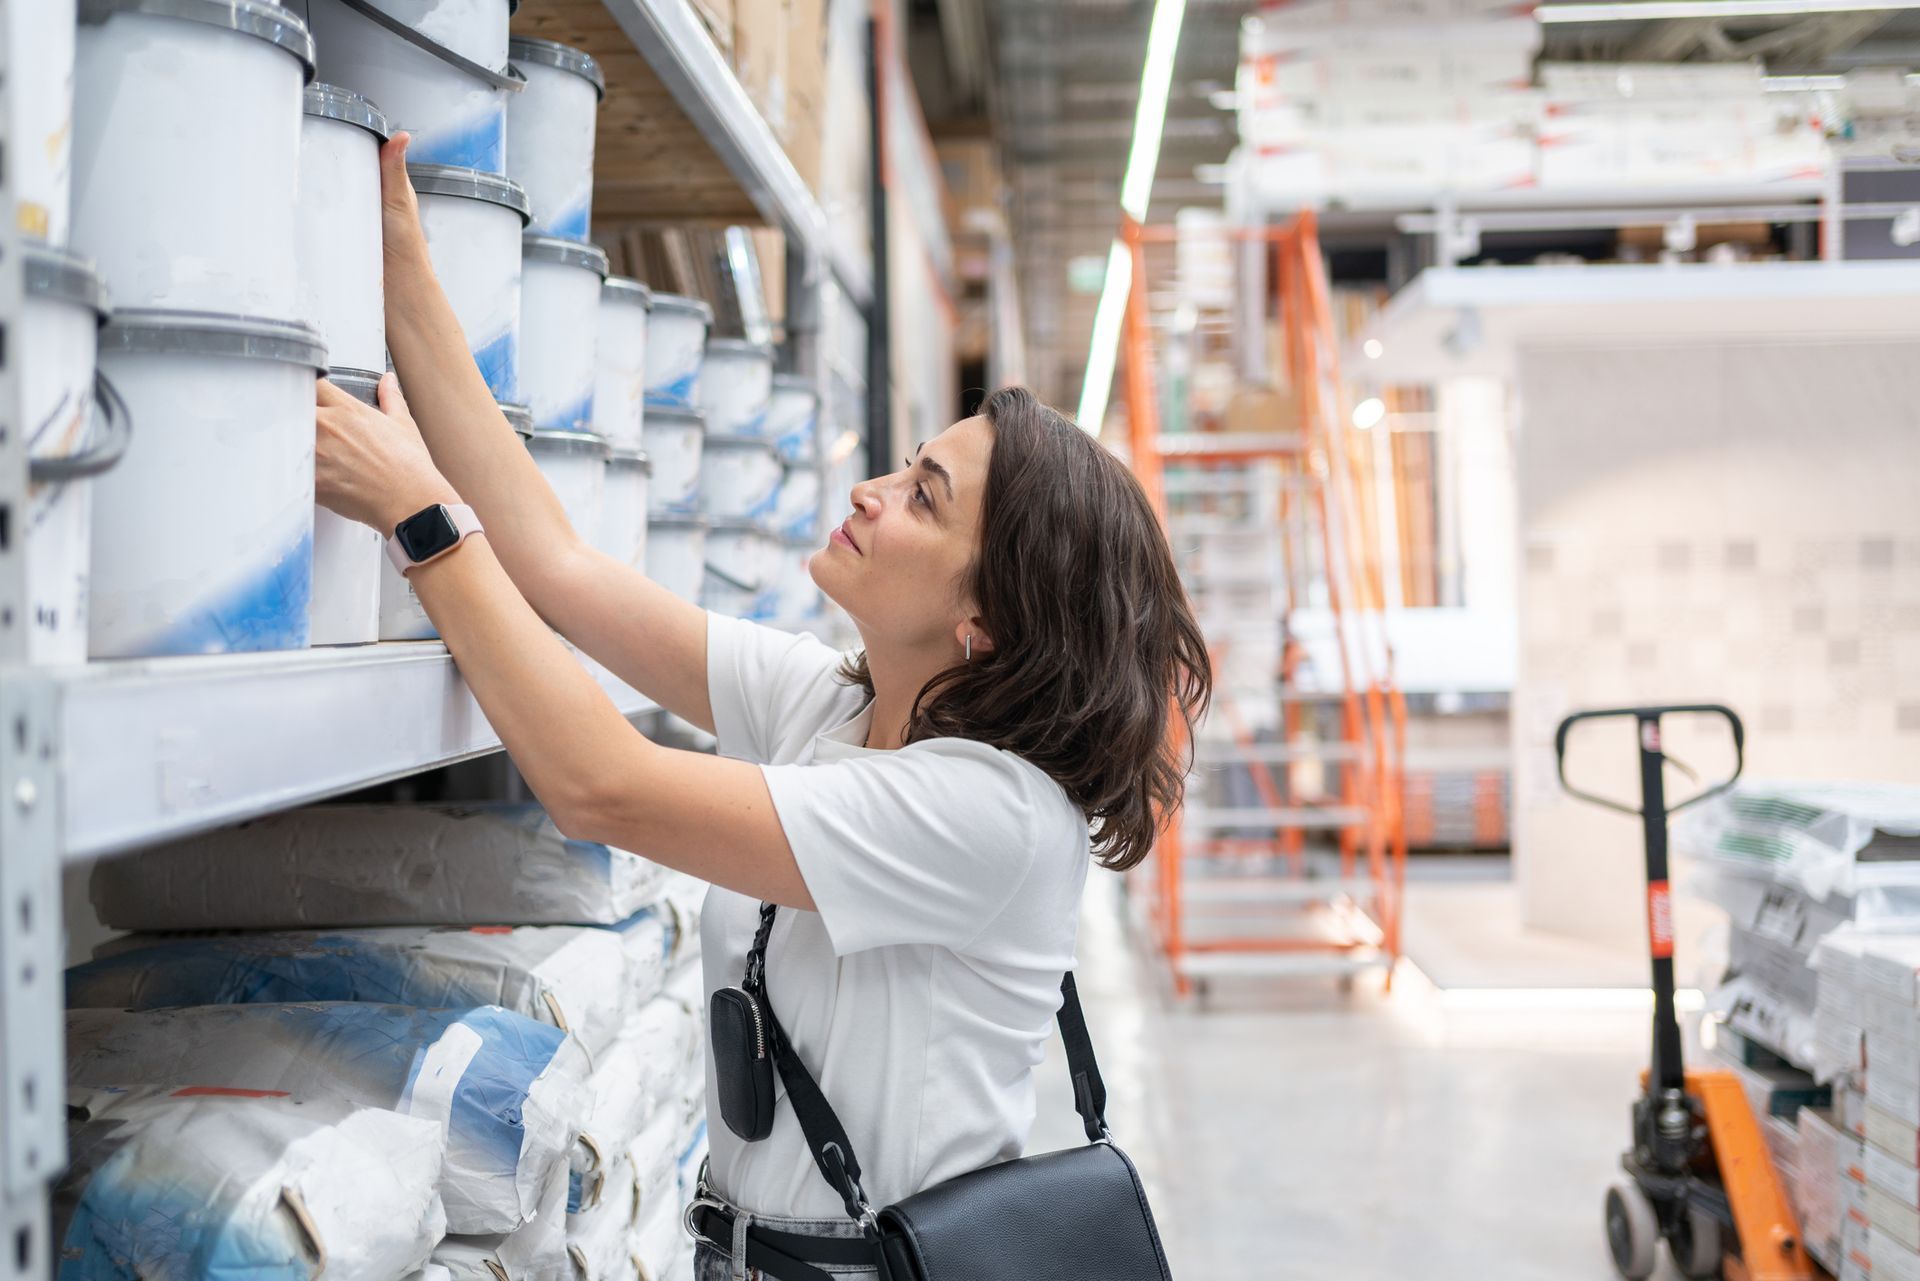
Get pro-grade painting supplies in Lexington, KY, from Perspectives Inc. Access specialty primers, bulk coatings & expert guidance. Call today!
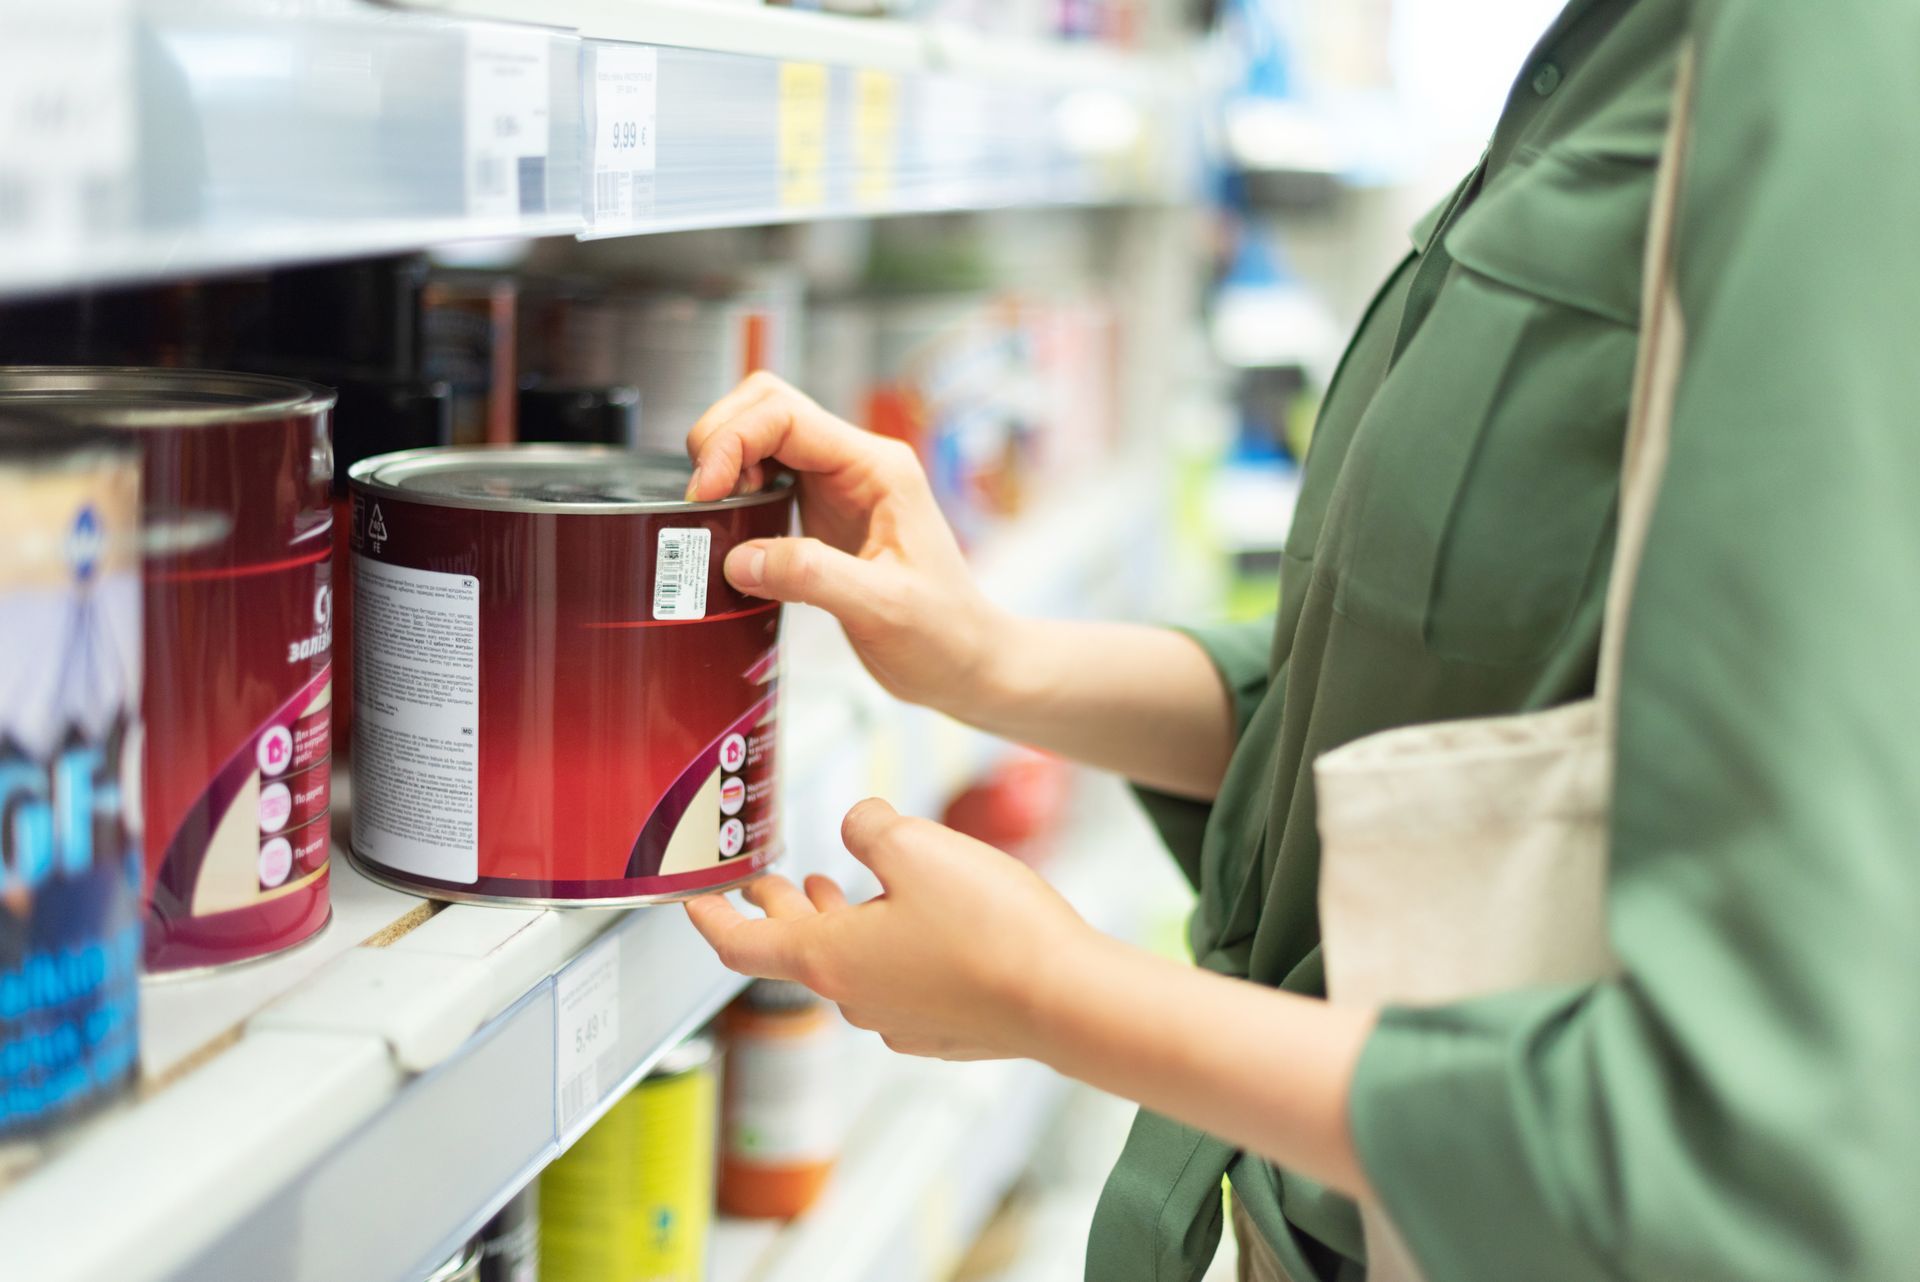
Find the right paint supply in Lexington, KY at Perspectives Paint and Design Center. We offer premium painting supplies and formulas. Call (859) 277-0521!
Explore premium painting supplies for Central Kentucky with Perspectives Inc. Call (859) 277 0521 for expert advice and professional-grade solutions today.
Find premium painting supplies in Central Kentucky, at Perspectives. Contact 859-277-0521 for expert guidance and quality products for every project.
Discover quality painting supplies for Central Kentucky at Perspectives Paint and Design Center. Call 859-277-0521 for expert guidance today!

Choosing the correct roller cover for your specific project. Don’t just roll over and buy the cheapest roller cover on the shelf! Start with knowing your desired texture as well as the sheen of paint you will be using. Next, you’ll need to decide on a knit, woven, microfiber or foam roller cover. Knit rollers have a looped construction that holds more paint and are better suited for textured surfaces and using flat or eggshell paint finishes leaving some texture on the surface. Woven rollers have a tighter weave that provides a smoother finish, don’t hold as much paint but are more shed resistant. Microfiber rollers hold more paint and apply paint smoothly, has reduced spatter and lint. They are great for many finishes and are easy to clean and reuse. ** We recommend microfiber roller covers for consistent control and smooth finishing. Foam rollers create a very smooth finish and are recommended for cabinet and furniture surfaces. Next characteristic you want to focus on is the nap height, which is the length of the fibers that extend from the backing and carry the paint to the wall. These are some general guidelines to help you. Shorter nap (3/16” or 1/4″) are for smooth surfaces such as new drywall, choose these to evenly apply the paint and maintain a smooth finish. Because a shorter nap picks up less paint, it is common for some painters to use a longer nap for increased production. While this can help speed up your painting project, it is important to note that higher naps may leave a textured look on a smooth surface. Always remember to select a nap height that will provide you with your desired finish regardless of the paint pick up and release capabilities. Medium nap (3/8” to 1/2”) are the most commonly used nap. Used correctly, they can be used on smooth to medium textured surfaces. These naps combine production speed with the ability to leave a smooth finish that will speed up a project while giving very good finish results. Medium naps come in a wide variety of fiber types, sizes and naps, giving the user the option to choose just the right combination of roller cover size, fabric and nap to complete their job. Higher nap (3/4” to 1 ½”) are for rough surfaces so the long fibers can reach into the valleys of the texture. Higher nap heights are great for textured plaster or stucco, siding, decks, concrete block, brick, and corrugated metal. Long nap heights offer great paint pick up and release, which makes getting into all the cracks and crevices of the surface easier. A higher nap will provide better coverage on a highly textured surface.

1. Prepare the Wall: Clean the walls thoroughly, remove any existing wallpaper, and repair any damage. Don’t use Dawn or any other house soap because it will leave glycerin build up on the wall. Never apply paper to an unpainted surface like drywall. APPLY sizing to the wall, to ensure proper adhesion and easier removal. If you are hanging light-colored wallpaper over a dark color or a dark color over a lighter color TINT your sizing to prevent the old color showing through. Read the directions on your sizing for specific drying times. 2. Measure and Cut: Before starting make sure that the run numbers on all rolls are the same. Cut one piece to start. Measure the wall height and add a few extra inches to the top and bottom of each strip. Cut the wallpaper strip according to your measurements. For additional strips, make sure to allow for pattern match. Before cutting the next strip, hold the paper up to the strip on the wall to see where the pattern match is and determine how long to cut the next strip. If you are working with multiple rolls, you can sometimes reduce waste by cutting the next strip from another roll. Since you can only return full, uncut rolls, make sure that you will need paper from another roll before cutting it. 3. Apply Paste (if needed): Read your papers’ directions. Some call for applying the paste to the paper and others are “paste the wall”. 4. Book the Wallpaper if required by the instructions by folding the pasted strip in on itself (booking) for a few minutes to allow the paste to activate. Follow the instructions for the correct time to allow the paper to book and fold the paper loosely; don’t crease the paper! 5. Hang the Wallpaper: Start with a straight line. Use a plumb line, chalk line or a laser level line. Align the first strip at the top of the wall, allowing it to overlap a little at the top and bottom, then smooth it onto the wall from top to bottom, working out any air bubbles with a smoother and a wet sponge. 6. Trim the overlap: Trim the excess paper at the ceiling and baseboard. Use a straight edge and a very sharp cutter. Ensure seams are properly aligned and pressed firmly to the wall and use gently a roller tool if appropriate. Be careful not to press too hard when smoothing so you don’t squeeze all the paste out, especially at seams. 7. Finishing: Clean any excess paste from the wall using clean clear water. Don’t hang anything on your new wallpaper including electrical outlet covers, paintings, shelves and other fixtures for at least 24 hours.. Tips for Success: Don't stretch the paper: Avoid pulling or stretching the wallpaper while hanging, as this can distort the pattern and cause seams to separate when the paper dries. Work with a partner: Having someone to help guide the paper and hold edges can make the process smoother, especially with larger patterns. Practice with a small section: If you're new to wallpapering, practice on a hidden area of the wall, like behind a door or with a small piece of wallpaper to get the “hang” of the process.

Read about essential painting supplies in Central Kentucky, that professionals rely on with Perspectives Inc. Click here and find out more!
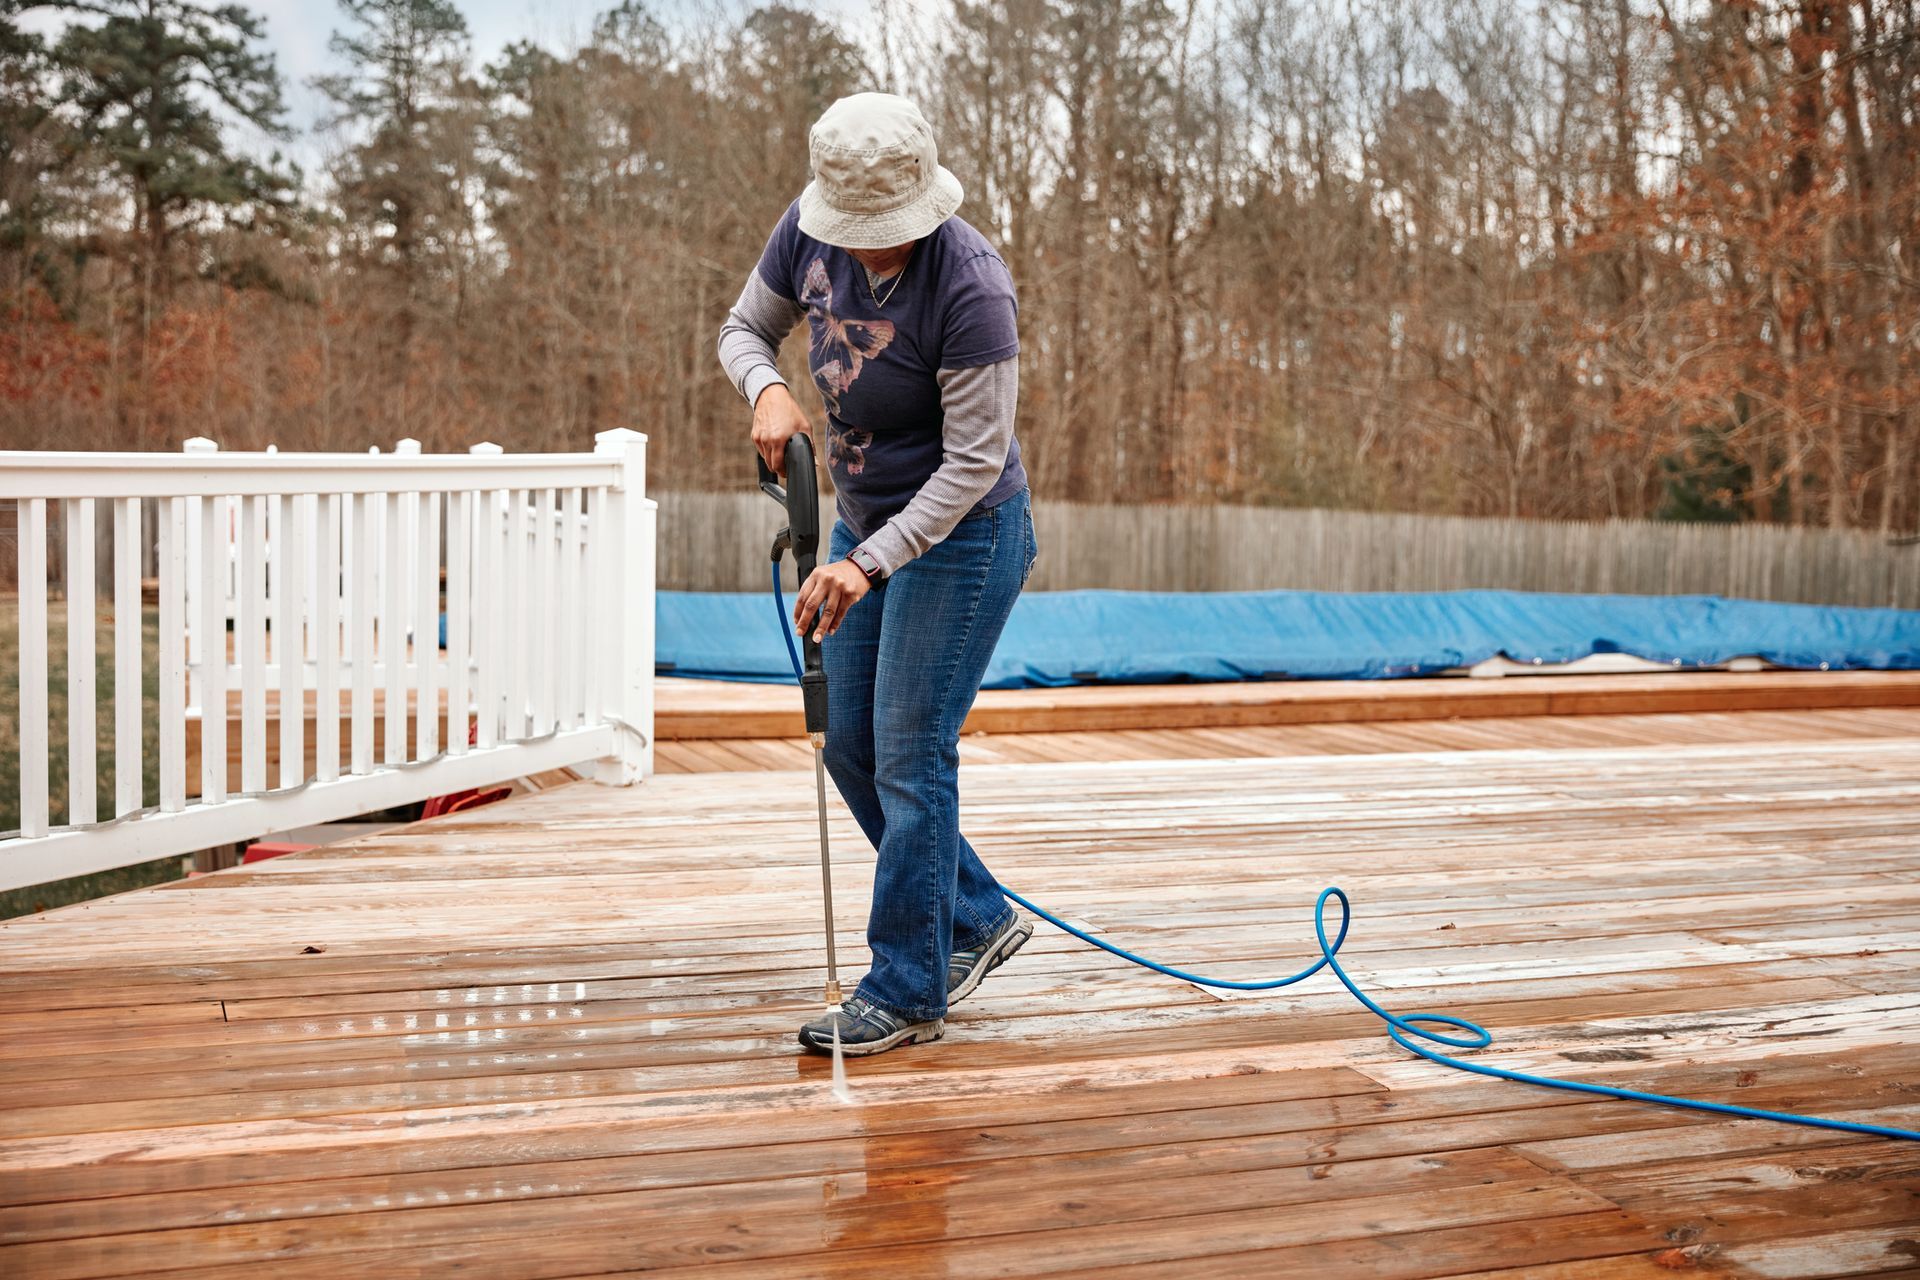
1. Move all furniture – tables, chairs, grills, planters, etc. off deck.

Discover the right sandpaper for your project with our comprehensive grit guide. From coarse to ultra-fine, choose the best sandpaper for your sanding needs.