
Wallpaper like a PRO
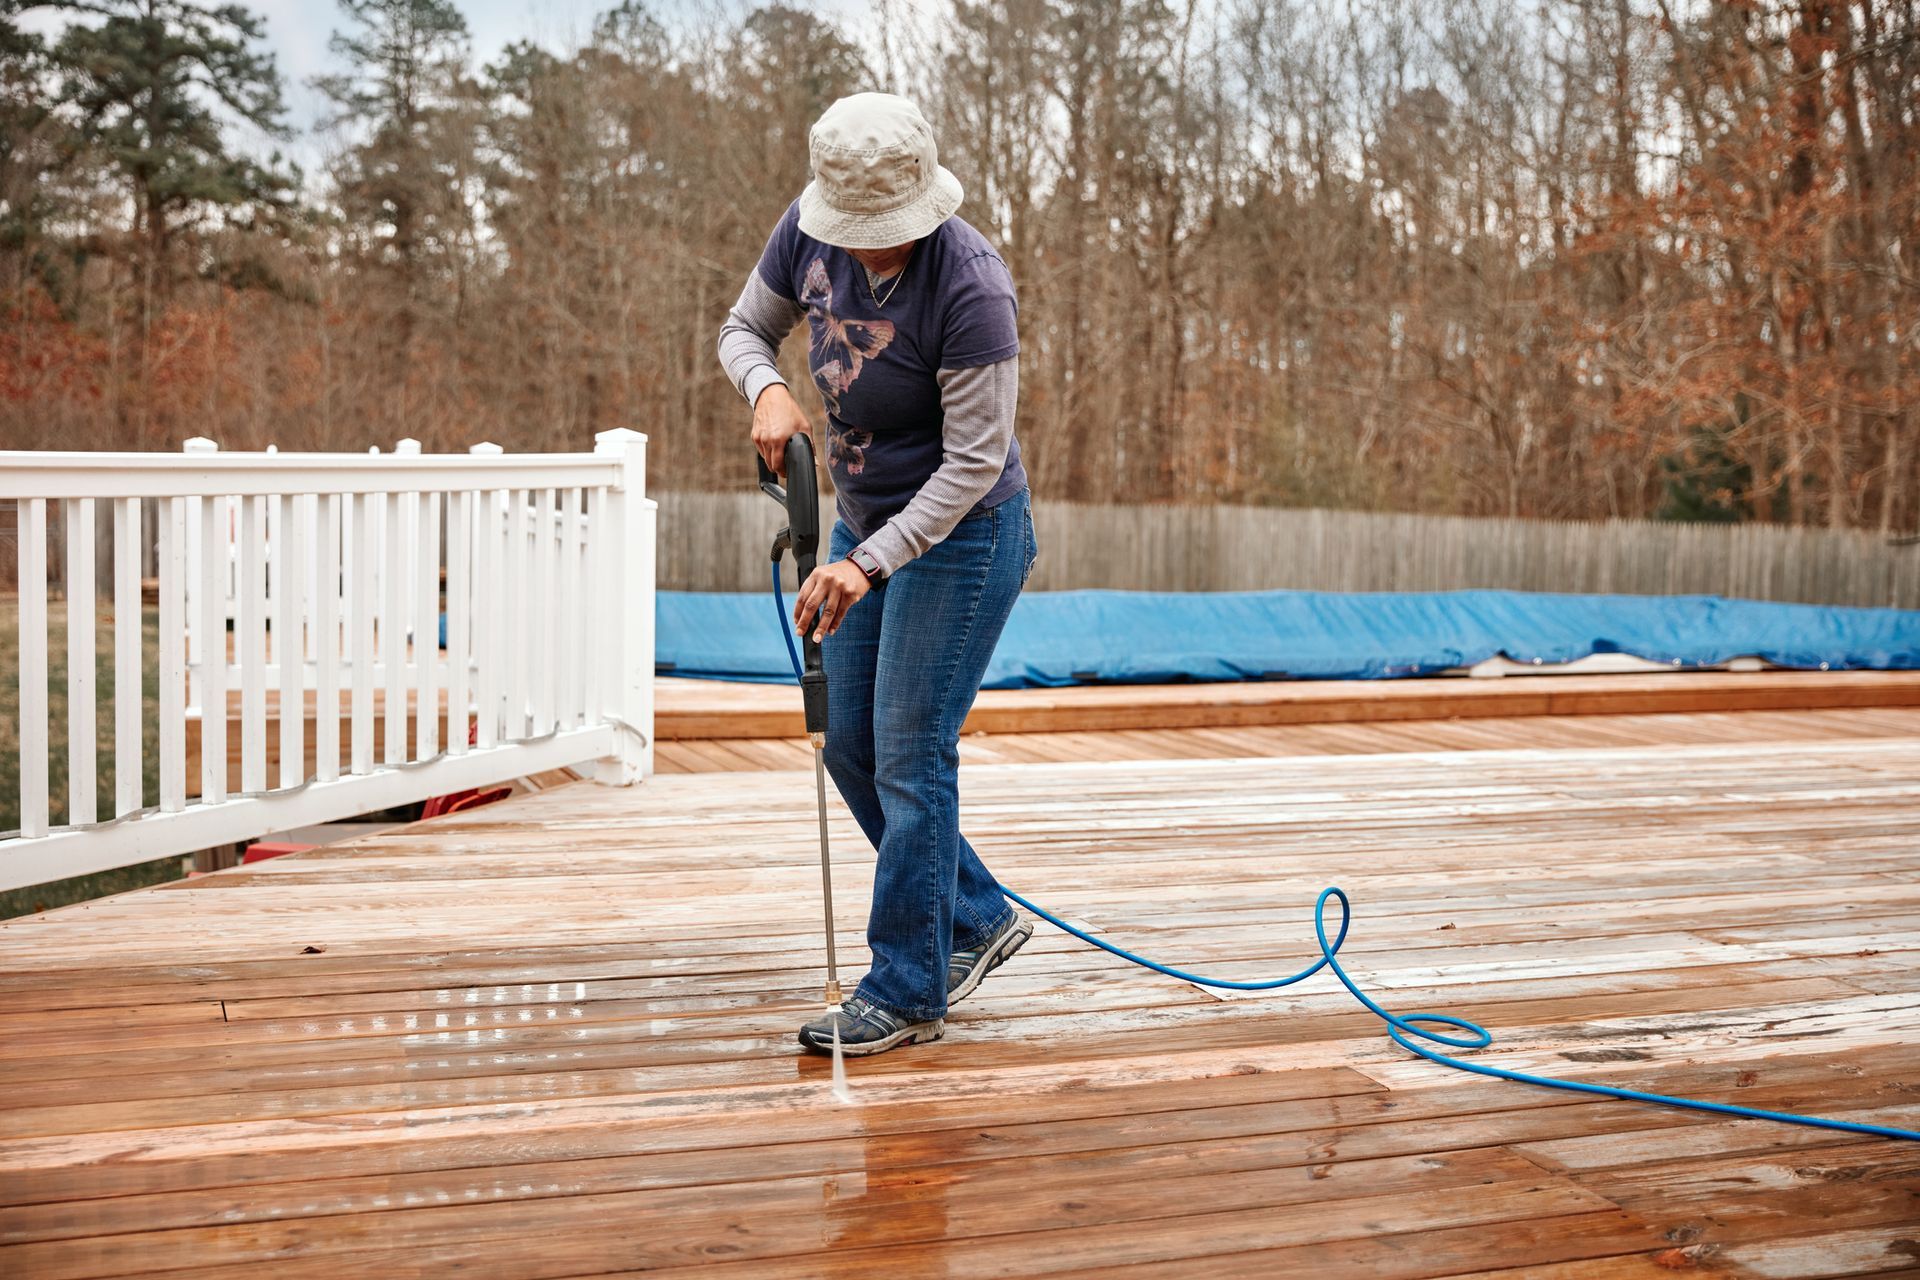
1. Prepare the Wall: Clean the walls thoroughly, remove any existing wallpaper, and repair any damage. Don’t use Dawn or any other house soap because it will leave glycerin build up on the wall. Never apply paper to an unpainted surface like drywall. APPLY sizing to the wall, to ensure proper adhesion and easier removal. If you are hanging light-colored wallpaper over a dark color or a dark color over a lighter color TINT your sizing to prevent the old color showing through. Read the directions on your sizing for specific drying times.
2. Measure and Cut: Before starting make sure that the run numbers on all rolls are the same. Cut one piece to start. Measure the wall height and add a few extra inches to the top and bottom of each strip. Cut the wallpaper strip according to your measurements. For additional strips, make sure to allow for pattern match. Before cutting the next strip, hold the paper up to the strip on the wall to see where the pattern match is and determine how long to cut the next strip. If you are working with multiple rolls, you can sometimes reduce waste by cutting the next strip from another roll. Since you can only return full, uncut rolls, make sure that you will need paper from another roll before cutting it.
3. Apply Paste (if needed): Read your papers’ directions. Some call for applying the paste to the paper and others are “paste the wall”.
4. Book the Wallpaper if required by the instructions by folding the pasted strip in on itself (booking) for a few minutes to allow the paste to activate. Follow the instructions for the correct time to allow the paper to book and fold the paper loosely; don’t crease the paper!
5. Hang the Wallpaper: Start with a straight line. Use a plumb line, chalk line or a laser level line. Align the first strip at the top of the wall, allowing it to overlap a little at the top and bottom, then smooth it onto the wall from top to bottom, working out any air bubbles with a smoother and a wet sponge.
6. Trim the overlap: Trim the excess paper at the ceiling and baseboard. Use a straight edge and a very sharp cutter. Ensure seams are properly aligned and pressed firmly to the wall and use gently a roller tool if appropriate. Be careful not to press too hard when smoothing so you don’t squeeze all the paste out, especially at seams.
7. Finishing: Clean any excess paste from the wall using clean clear water. Don’t hang anything on your new wallpaper including electrical outlet covers, paintings, shelves and other fixtures for at least 24 hours..
Tips for Success:
Don't stretch the paper: Avoid pulling or stretching the wallpaper while hanging, as this can distort the pattern and cause seams to separate when the paper dries.
Work with a partner: Having someone to help guide the paper and hold edges can make the process smoother, especially with larger patterns.
Practice with a small section:
If you're new to wallpapering, practice on a hidden area of the wall, like behind a door or with a small piece of wallpaper to get the “hang” of the process.