
Tips and Tricks
Perspectives Paint and Design Center has been there and done that. Let us help.
Tips and Tricks for Everyday Challenges
Have you ever worked on a project and run across something that you weren't sure how to deal with?
Well, so have we. Perspectives Paint and Design Center has been there and done that. If you are having any problems or have any questions on a project, we can help you get it done right. Below are some frequently asked questions and some solutions we have found. If you have a question that you would like some help with, click on the “Contact Us” icon above to send us an e-mail. Feel free to call or stop by our store.
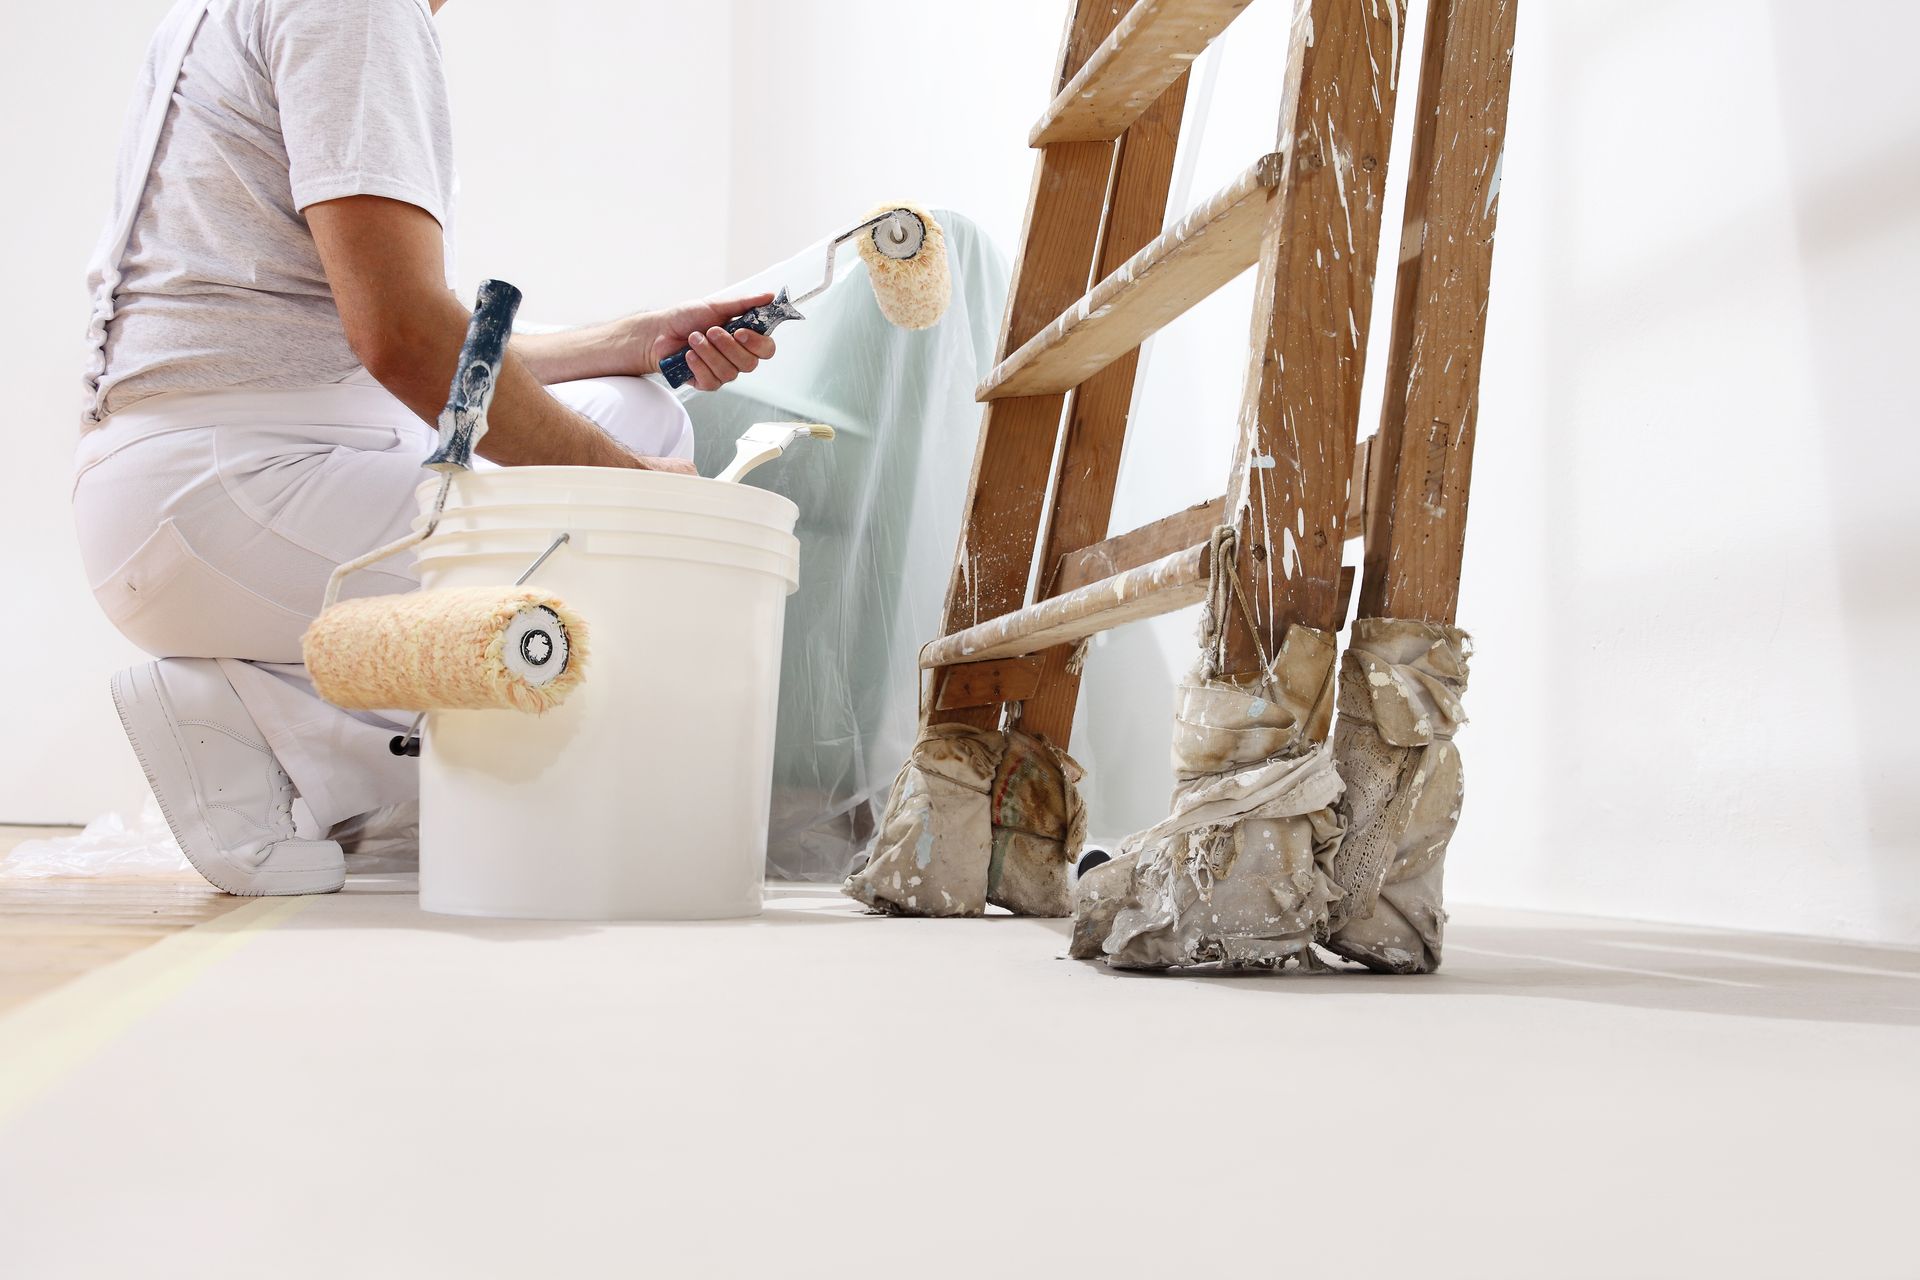
Can I Paint Oil-Based Paint Over Water-Based Paint?
Yes, most oil-based paints are fairly adhesive and should go over water-based paints without any problems. Be sure that any areas are clean, and follow the directions on the can.
Can I Paint Water-Based Paints Over Oil-Based Paints?
Yes, a water-based bonding primer is needed to paint water-based paint over oil-based paints. Be sure that the area is clean, dry, and has been de-glossed by sanding or scuffing the surface.
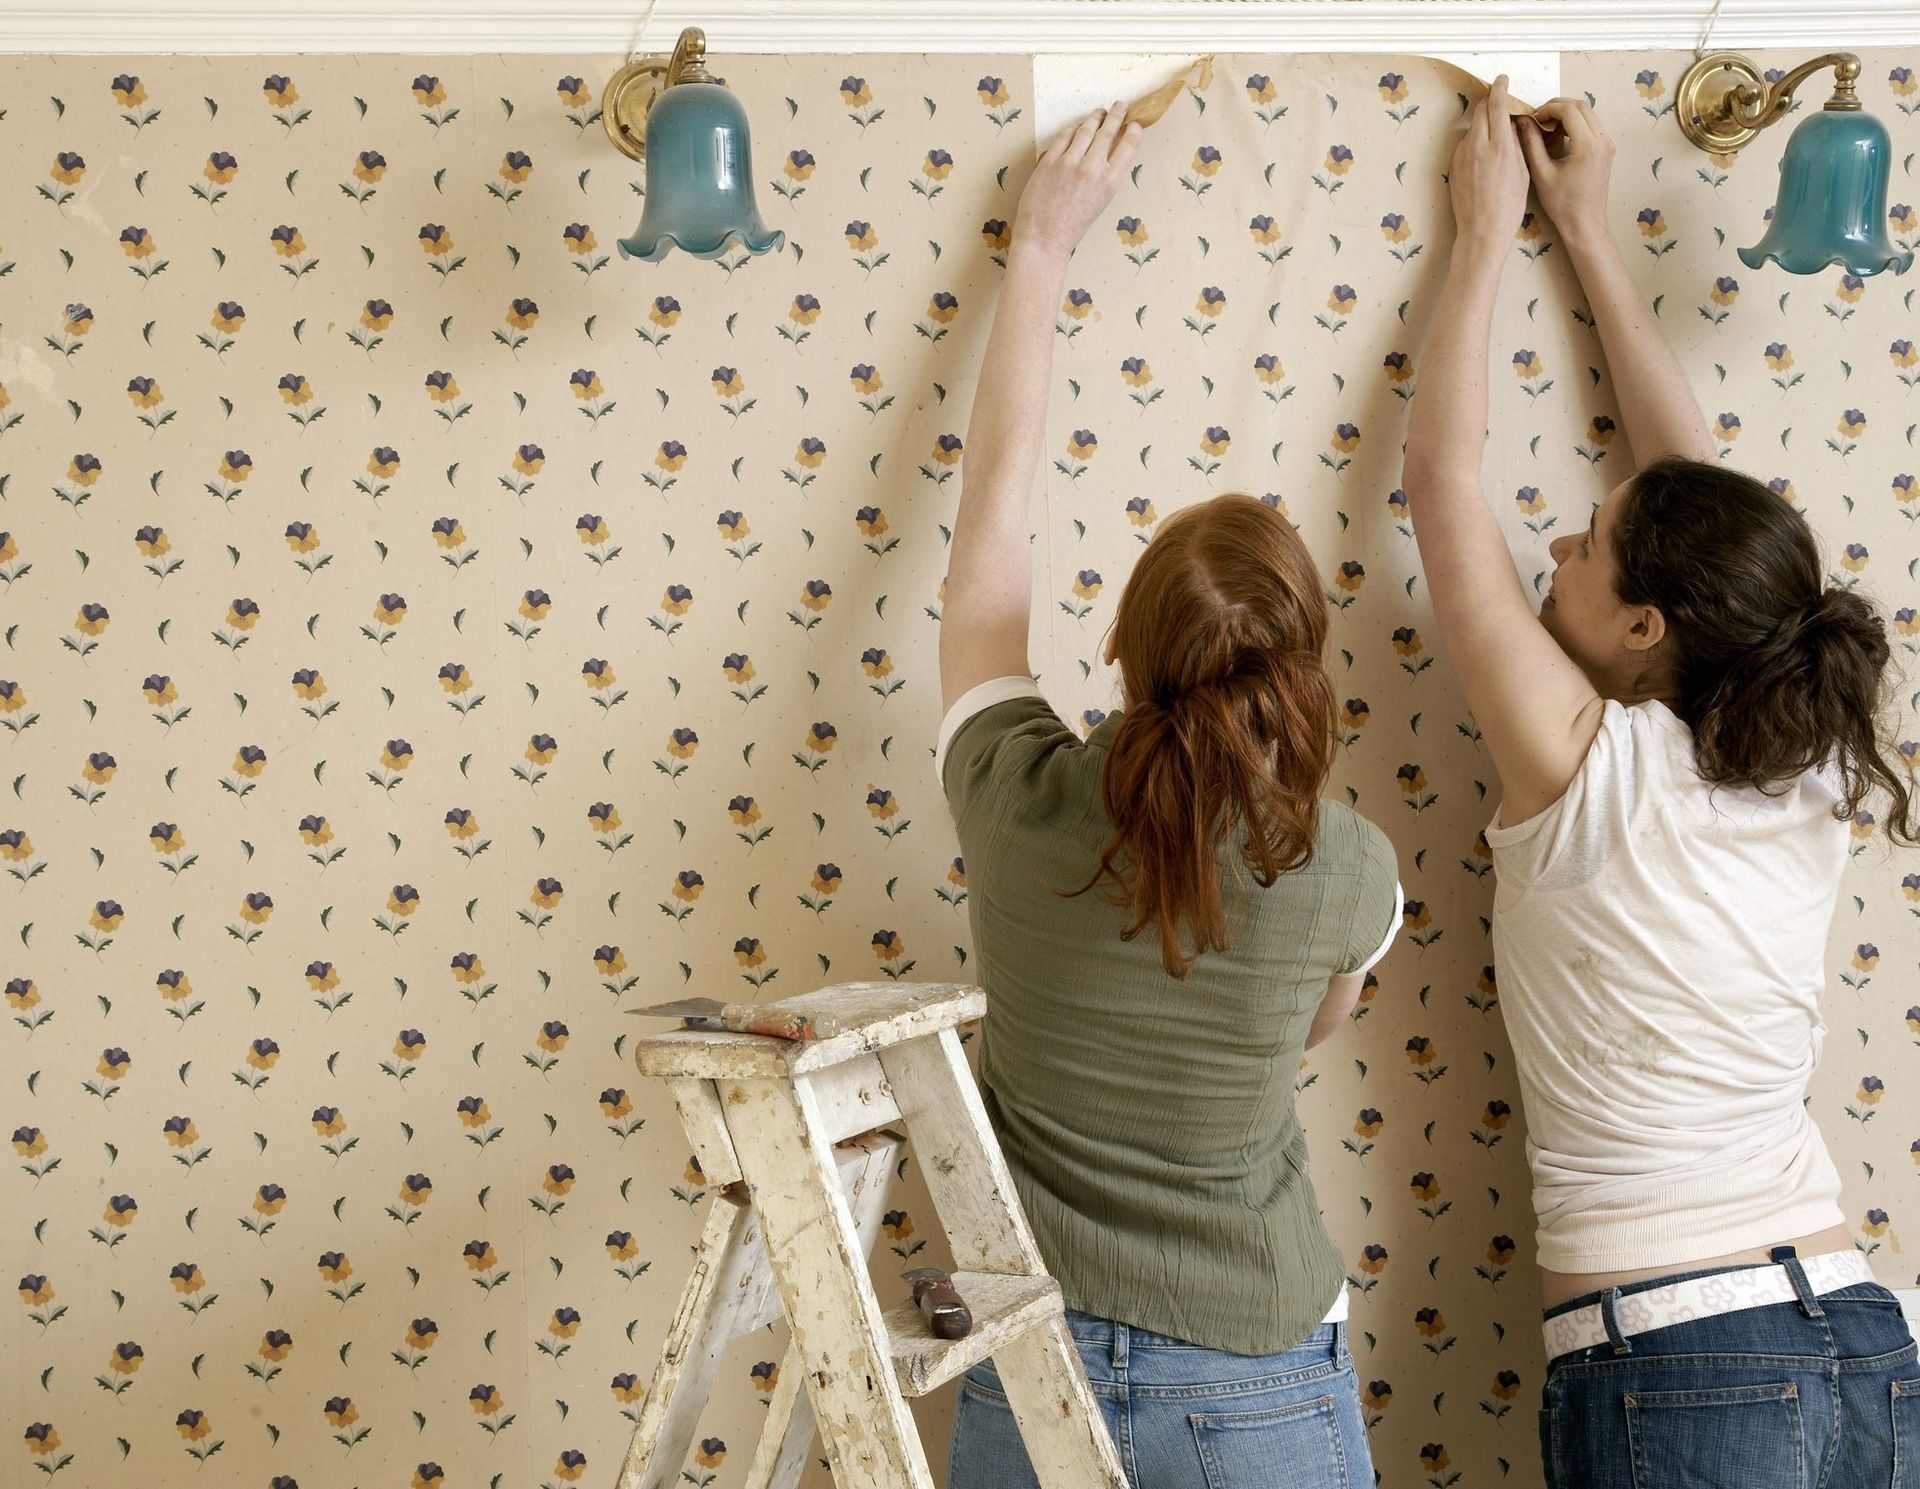
Can I Hang My New Wallpaper Over the Existing Wallpaper?
Yes, you can apply sizing over the existing wallpaper or use special adhesive on the new wallpaper. However, we don't recommend this because, in most cases, it leads to more problems. The weight of the new wallpaper may cause the old wallpaper to sag or peel, and if you ever want to remove the wallpaper, adding an extra layer makes the job more difficult.
Do I Need to Use Paste to Hang My Wallpaper?
Most new wallpapers are not pasted. There are several types of wallpaper paste, so you need to read the instructions for your paper to determine the correct paste to use. In addition, some papers allow you to paste the wall instead of the paper. Some papers are pre-pasted, and you only need to wet the paper to activate the paste. If you have pre-pasted paper, there is no need to add extra paste; it just makes the job messier and will most likely void the warranty on the paper. In all cases, it is important to properly prepare the wall by cleaning and applying sizing (wallpaper prep) as shown in the instructions.
How Do I Remove Wallpaper?
We recommend starting easy and using a chemical wallpaper stripper. Sometimes, you may have to “score” the paper with a tool like a paper tiger to allow the solution to soak into the backing. If the chemical stripper does not work as well as you would like, the next step is to use a wallpaper steamer. These are easy to use and available for rent here at our store.
What Is the Difference Between a Traditional Shutter and a Plantation Shutter?
Traditional shutters or “cafe height” shutters are typical for kitchen windows. They are widely used on small windows because the shutters’ 1 1/4″ louvers and 3/4″ thick shutter frame operate well within small window frames.
Plantation shutters were originally designed with wide louvers to protect homes from the Southern elements. These shutters allow views of the outside when open yet provide privacy when closed. Plantation shutters provide thermal efficiency to large glass windows but can also add a homey touch to any interior.
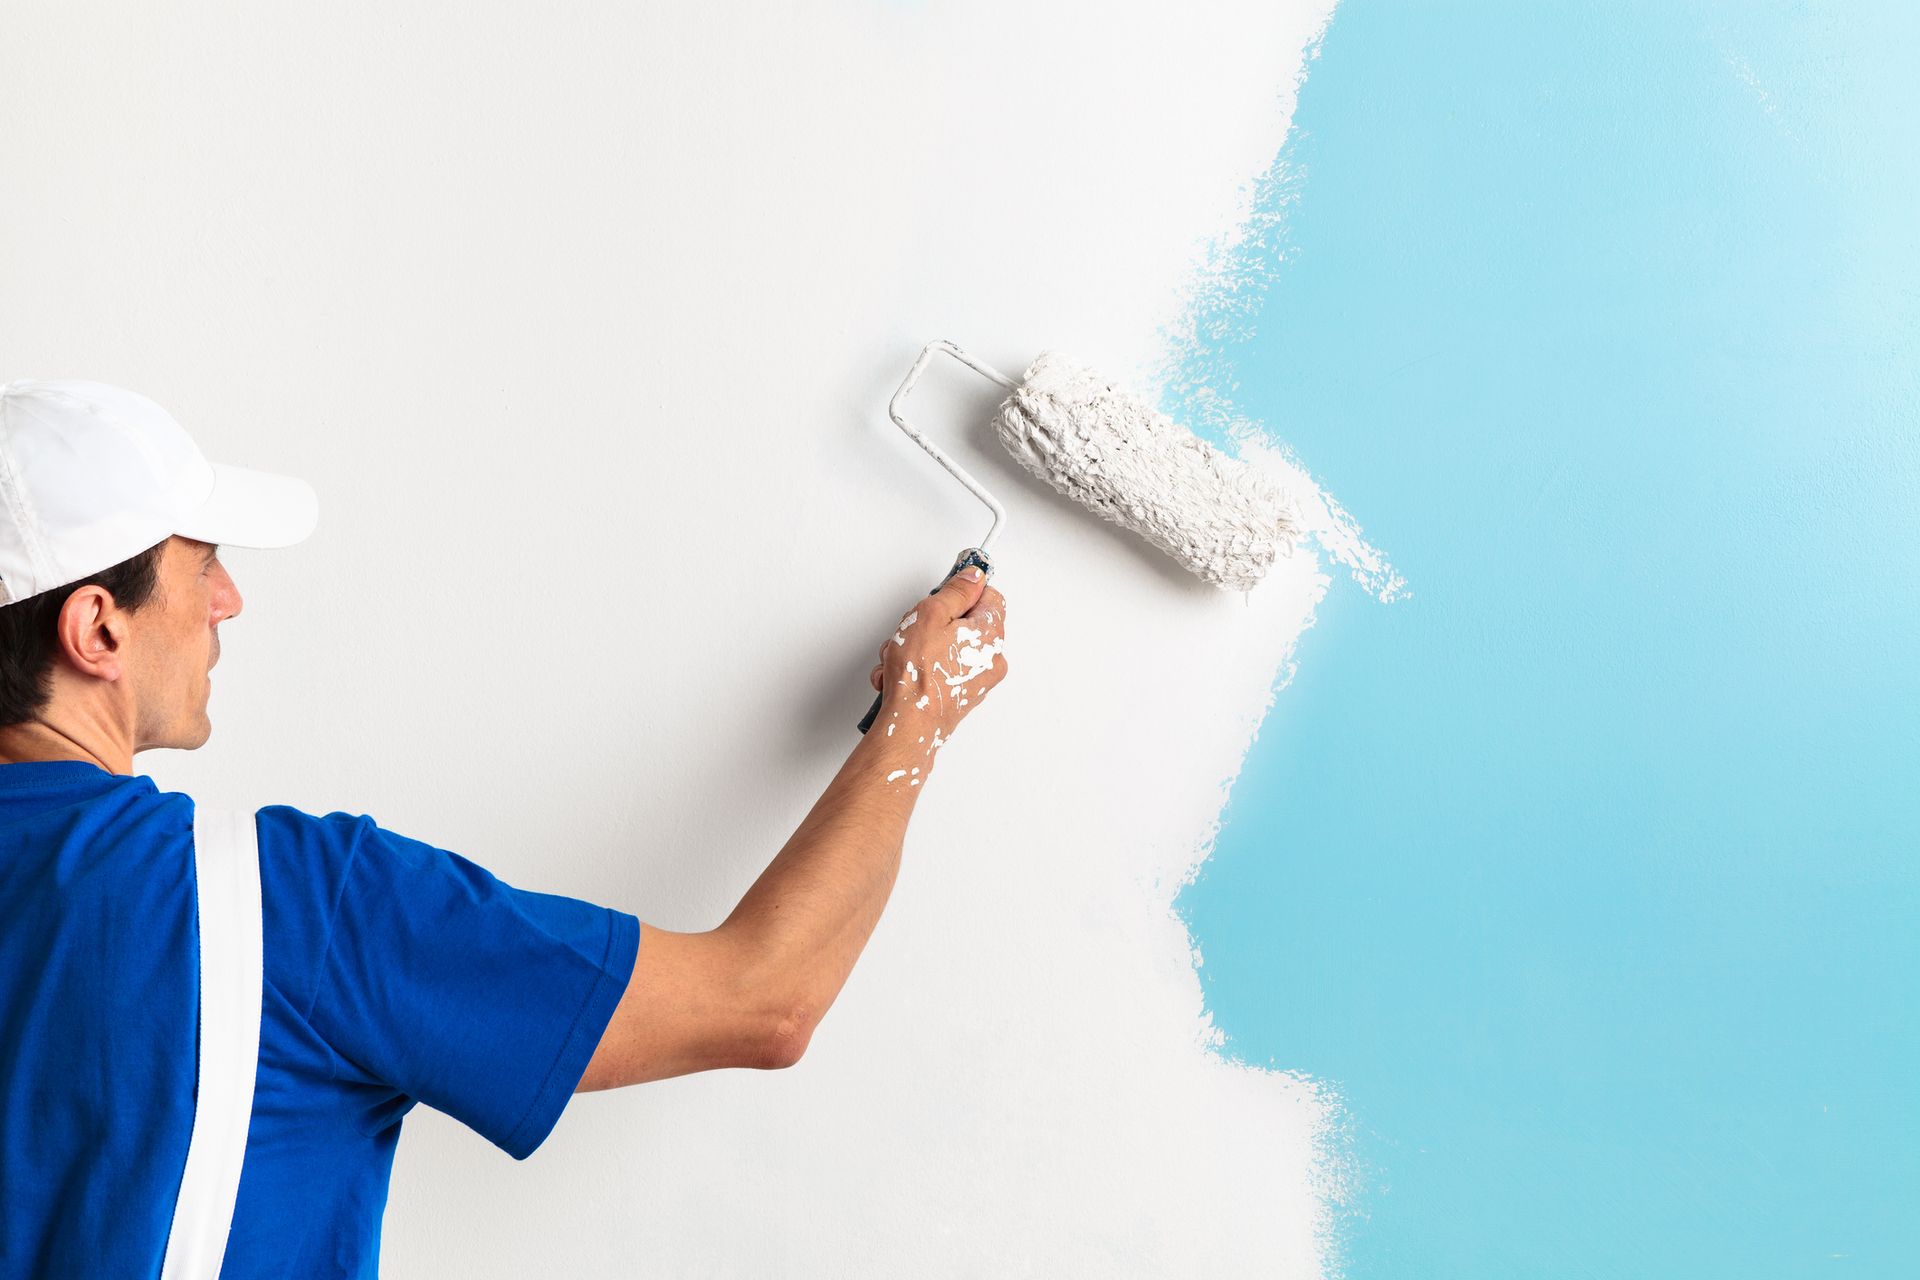
Can I Paint My Kitchen or Bathroom Cabinets? They Are Stained Finish, and I Want to Paint Them.
You certainly can paint your cabinets, even if they have a stained and polyurethane finish. The first step is to clean the surface thoroughly. Use a cleaner such as TSP (tri-sodium phosphate), Simple Green, or Krud Kutter that will clean the surface without leaving behind a residue. Don’t use dish soap, as it contains glycerin that will leave a residue that will interfere with the adhesion of the paint. After the surface dries, sand the surface lightly with medium grit sanding sponges. This step will dull the surface and promote adhesion. Apply a coat of bonding primer, such as Insl-X Aqua Lock, then top coat with two coats of Coronado Multapply Acrylic or two coats of Insl-X Cabinet Coat acrylic. This system, when fully cured, will give you years of beautiful service.
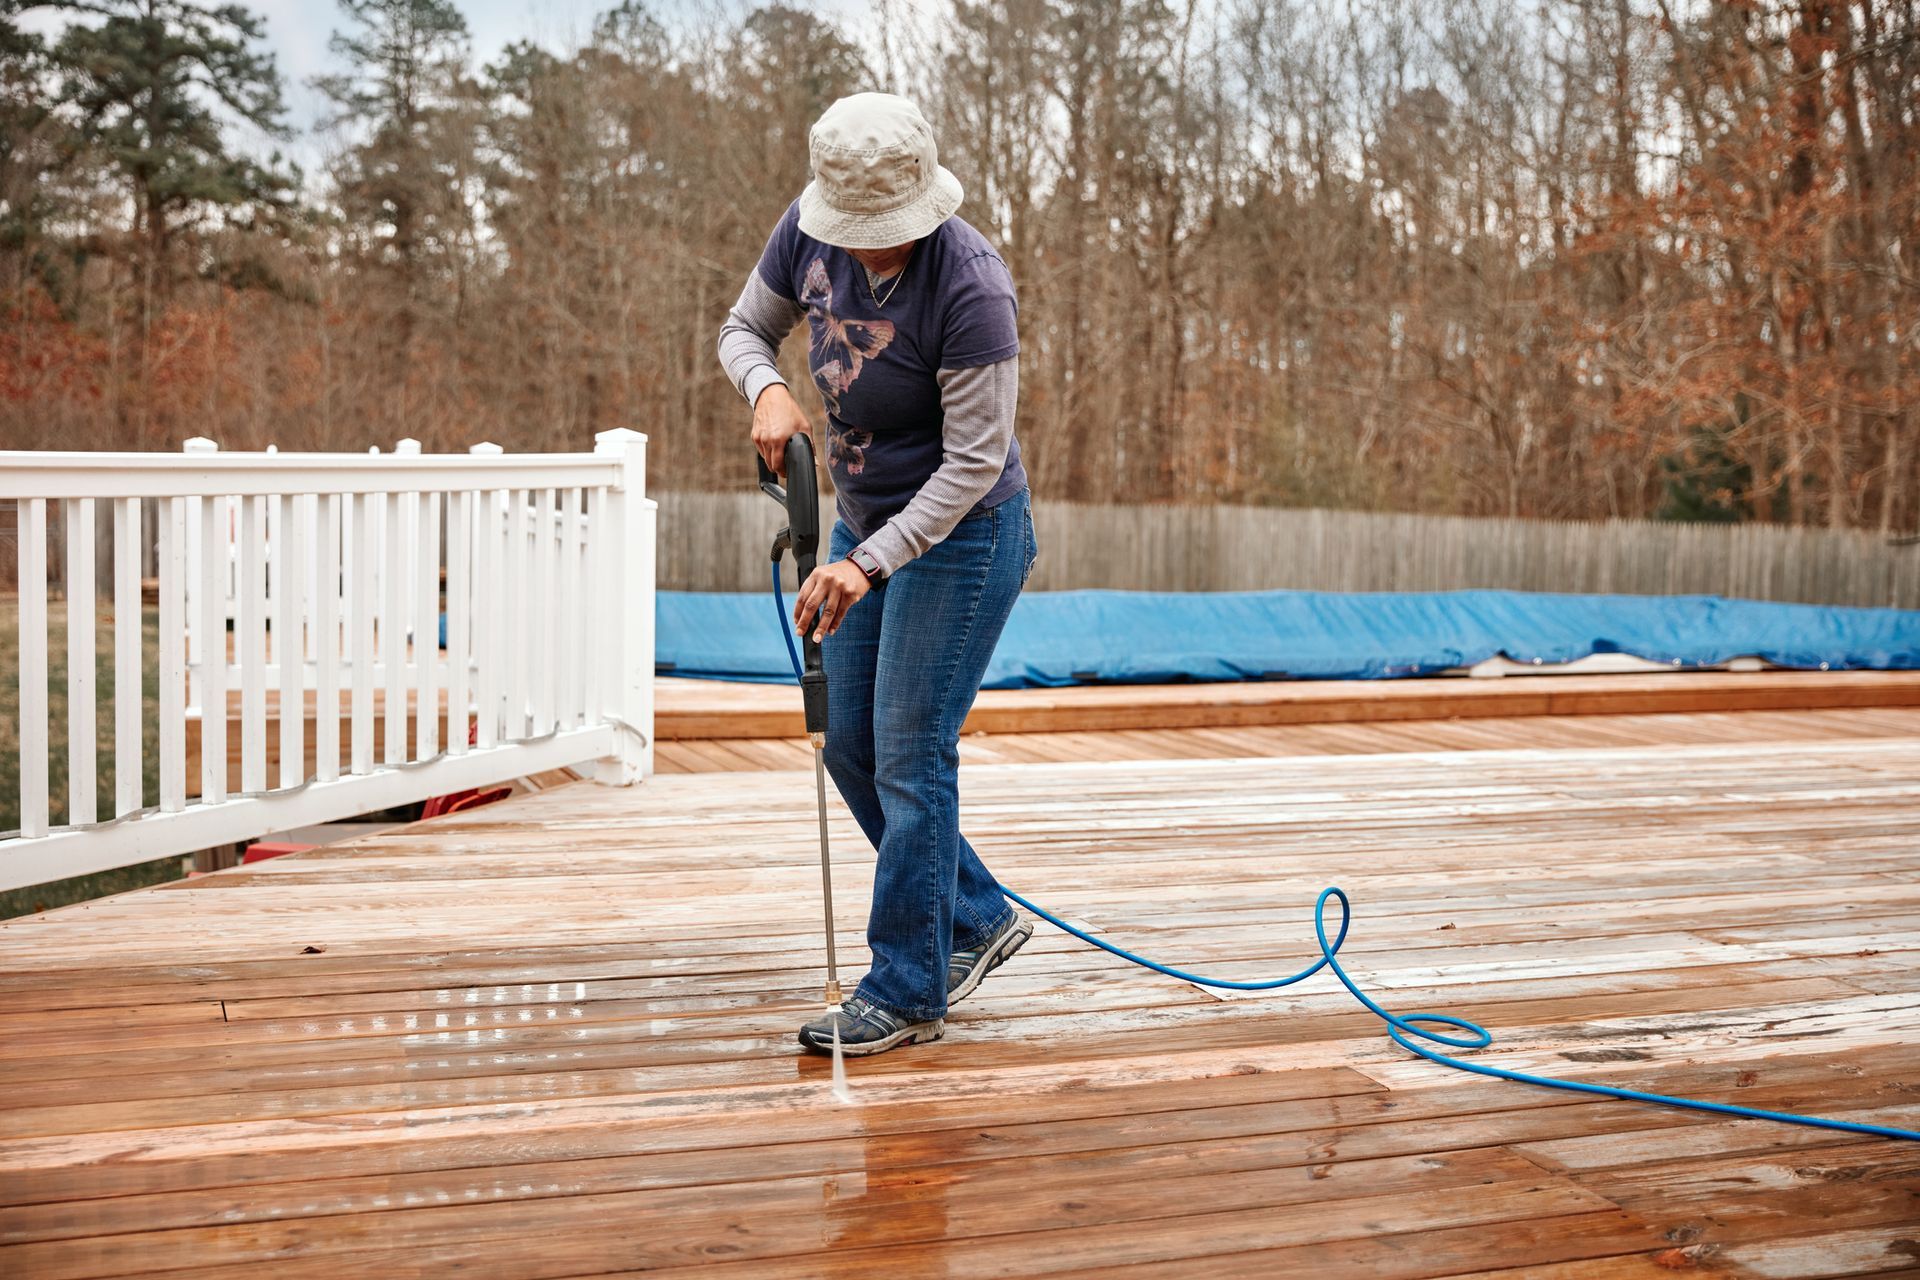
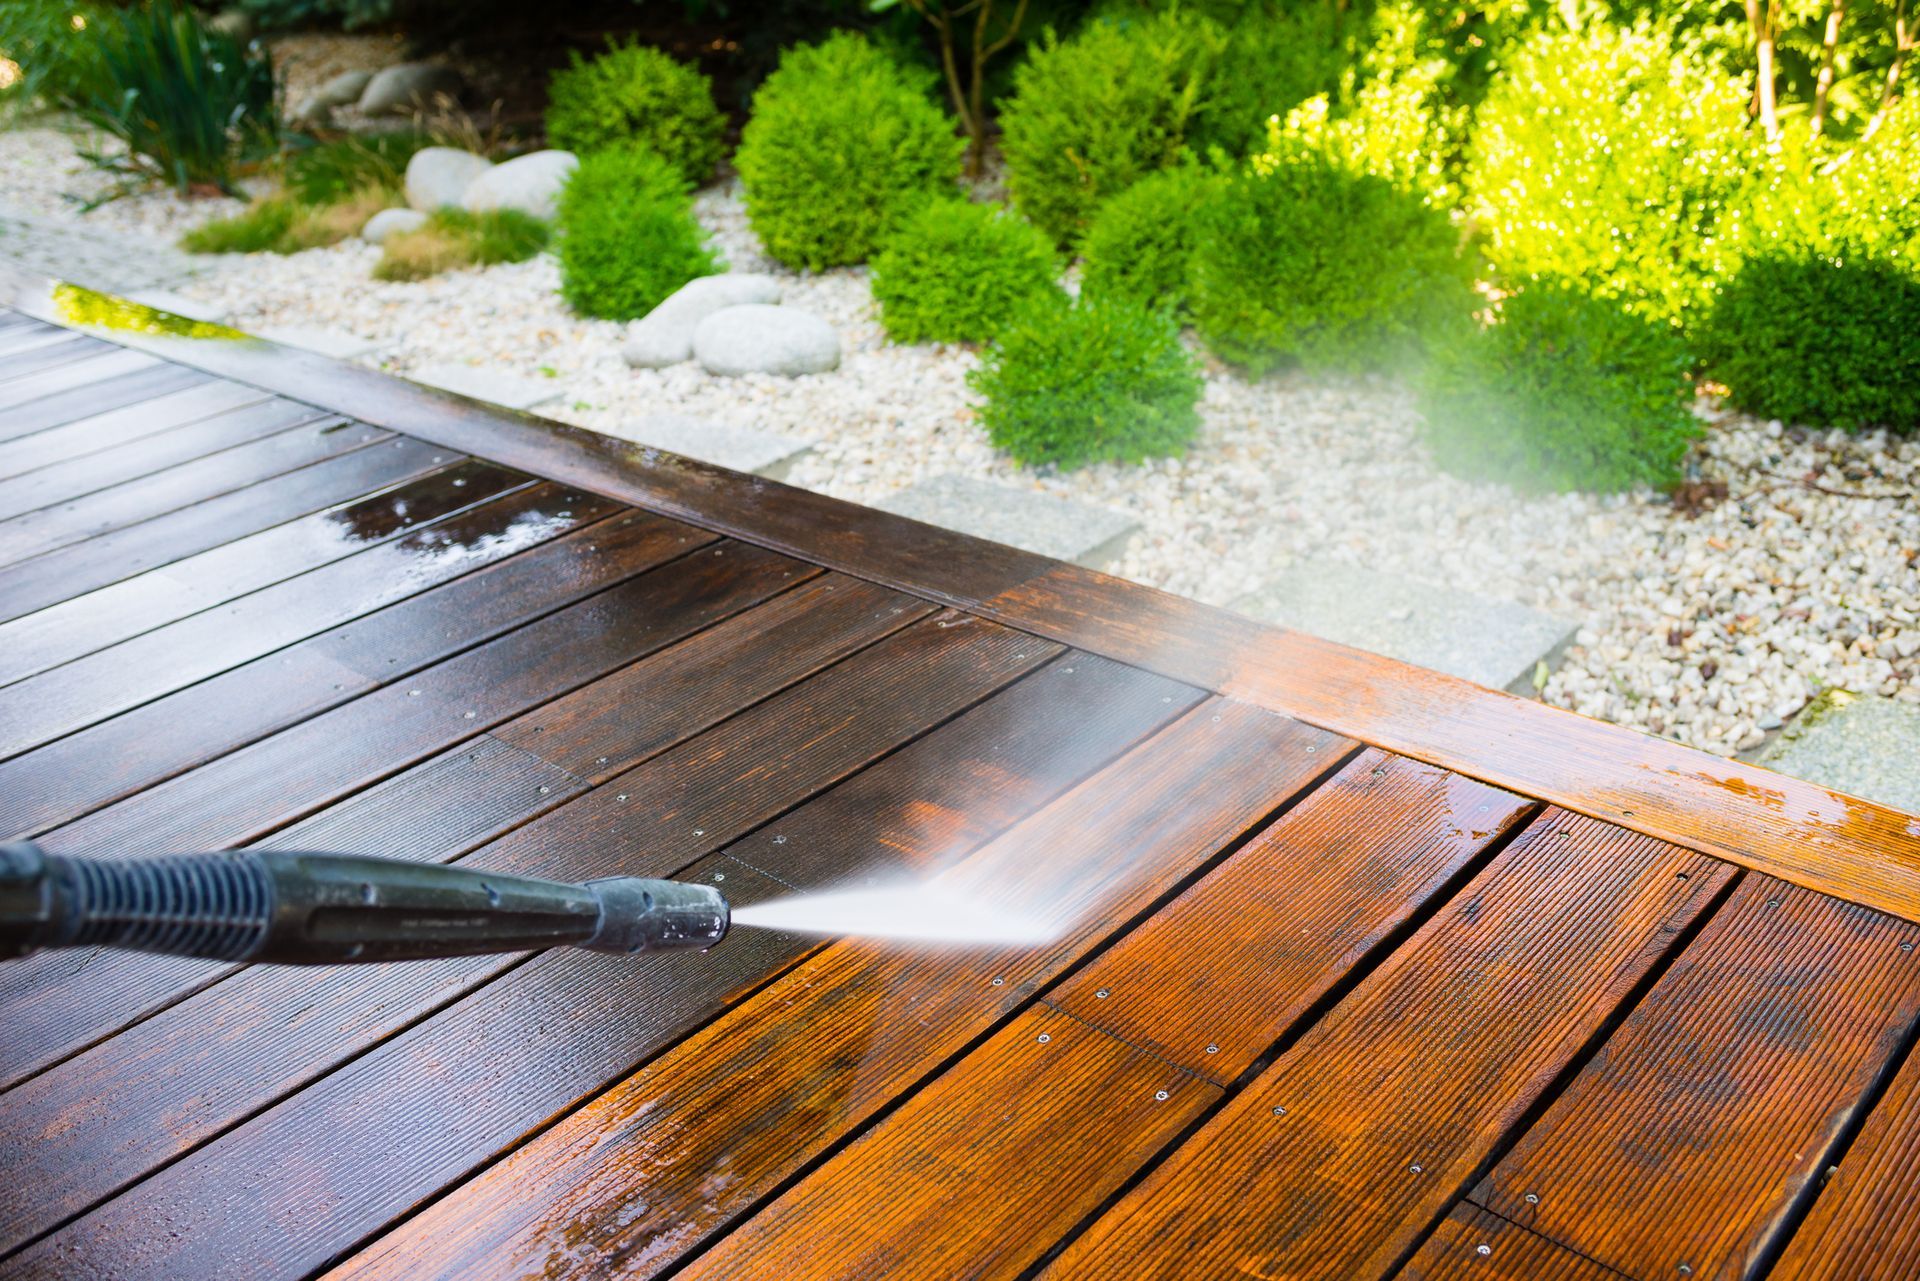
How Do I Refinish My Old Deck or Protect a New Deck?
The most important step is to prepare the deck properly. While it is obvious that an older deck needs to be cleaned, even new wood requires a thorough cleaning. New wood can have mill glaze, which occurs when the boards are run through a planer at the mill. Thorough cleaning will require the use of a dedicated deck cleaner and brightener, such as Defy Wood Cleaner and Defy Wood Brightener. You can use a pressure washer to RINSE the surface, but keep the pressure below 1000 psi and keep the tip of the wand at least one foot off the surface of the deck. If you use just a pressure washer to clean the surface without using a cleaner, you WILL damage the surface, and you WILL NOT get the surface cleaned properly.
After cleaning, allow the surface to dry completely; this will take at least one day, but two or more drying days are ideal. You want the wood to be as dry as possible when you apply the coating so that the wood will absorb as much product as possible. The more product the wood absorbs, the longer the product will last and perform as it should. Make sure to read and follow all of the instructions for the product that you are using. Most semi-transparent stains are ONE COAT ONLY. Application of a second coat, especially if applied after the first coat has dried, will result in the product forming a film on the surface, which can lead to premature failure of the coating.